Quick answer: A successful LED display deployment depends on ten connected decisions: the use case and environment, viewing distance and pixel pitch, brightness and image quality, cabinet and module design, the LED display controller and signal path, power and cooling, structural safety, maintenance access, content operations, and total cost of ownership. Confirm the screen’s resolution, peak power, heat load, mounting loads, network plan, and spare-parts strategy before ordering hardware.
This LED display deployment guide explains how to turn those decisions into a practical specification for indoor, outdoor, fixed, and rental LED displays.
LED Display Deployment Checklist
| Consideration | Question to answer | What to document |
|---|---|---|
| Application | Where and how will the screen be used? | Indoor/outdoor, fixed/rental, operating hours, audience |
| Viewing | How close is the nearest viewer? | Pixel pitch, screen size, resolution, aspect ratio |
| Image quality | What ambient light and camera conditions apply? | Brightness, refresh rate, grayscale, calibration target |
| Hardware | Which module and cabinet format fits the project? | Module type, cabinet dimensions, weight, service direction |
| Control | How will content reach every pixel? | Controller capacity, receiving cards, processor, redundancy |
| Power and heat | Can the site support peak demand and remove heat? | Circuits, distribution, grounding, ventilation, temperature limits |
| Structure | Can the mounting system safely carry all loads? | Engineering calculations, anchors, wind load, access |
| Maintenance | Can technicians replace parts quickly? | Front/rear access, spares, tools, service-level plan |
| Operations | Who schedules, monitors, and approves content? | CMS, network, permissions, monitoring, fallback content |
| Lifecycle cost | What will the display cost over its useful life? | Hardware, installation, energy, service, downtime, replacement |
1. Define the Application and Environment
Start with the business objective, not the product model. A retail display, control-room video wall, stadium screen, roadside billboard, and touring rental screen have different requirements. Record the content type, typical viewing distance, operating schedule, installation height, ambient light, expected audience, and whether cameras will capture the display.
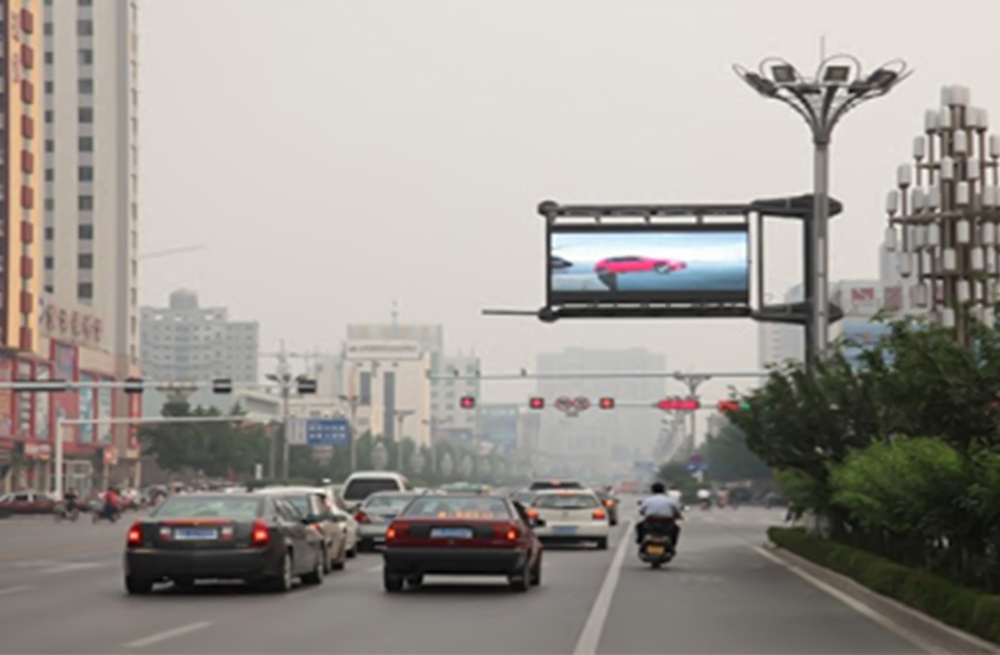
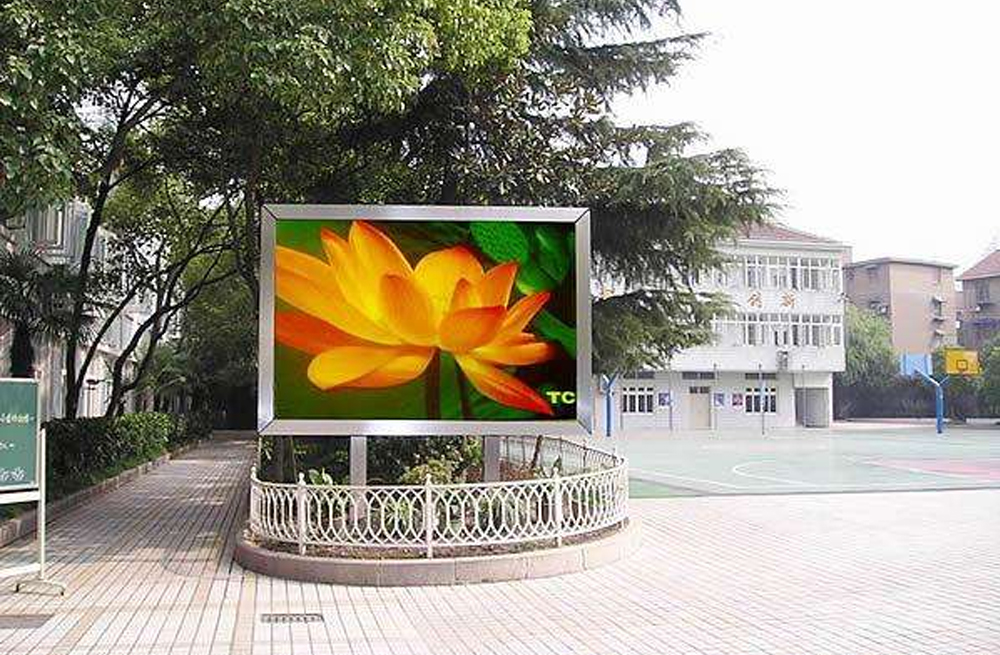
Outdoor projects need weather resistance, drainage, corrosion control, sunlight-readable brightness, and a structure designed for local wind conditions. Indoor projects usually prioritize closer viewing, lower brightness, quiet operation, and visual comfort. Rental systems add fast assembly, transport protection, alignment hardware, and repeated connector cycles. For product options, compare the site’s outdoor LED display screens and indoor rental LED displays.
2. Match Pixel Pitch to Viewing Distance
Pixel pitch is the center-to-center distance between adjacent pixels, measured in millimeters. A smaller pitch produces a finer image at close range but increases pixel count, processing load, power density, and cost. Choose it from the nearest realistic viewing distance and the detail in the content, then test representative material at full scale whenever possible.
After selecting pitch and physical dimensions, calculate the exact pixel width and height. The total pixel count determines the required capacity of the LED display controller, sending device, receiving cards, and video processor. Also confirm the native aspect ratio so routine content does not require cropping or scaling.
3. Specify Brightness and Image Quality
More brightness is not always better. The target must overcome ambient light without washing out colors, wasting energy, or creating glare. Outdoor brightness should be managed with an automatic light sensor and a schedule so the screen can run lower at night. Indoor brightness should suit the room and viewing distance.
For live events, broadcast studios, houses of worship, and conference rooms, verify refresh rate, grayscale performance, scan design, shutter compatibility, and low-brightness color consistency. Ask the supplier to demonstrate the actual LED display module, receiving-card configuration, and camera settings rather than relying only on a headline refresh-rate number.
4. Choose Modules and Cabinets for the Job
The LED display module, cabinet, power supply, receiving card, hub board, cables, and connectors work as one system. Compare LED package type, module flatness, color consistency, cabinet material, weight, heat behavior, locking accuracy, and service direction. A specification is incomplete if it names only pixel pitch.
Front-service cabinets are useful where rear space is limited. Rear-service designs can be efficient when a safe maintenance corridor is available. Rental cabinets should have durable corner protection, quick locks, replaceable modules, and clear handling limits. Fixed installations should emphasize long-term alignment, cable management, and environmental protection.
5. Design the LED Display Deployment Control System
The signal chain commonly includes a source, video processor or switcher, sending controller, receiving cards, and the LED modules. Confirm input formats, scaling, total and per-port loading, bit depth, color-management needs, and compatibility between every component. The site’s guide to a programmable LED display board provides additional context for choosing a control approach.
Plan signal distribution on a cabinet map before installation. Keep port loading within the manufacturer’s limits and document cable routes. For mission-critical screens, consider dual signal paths, redundant controllers, hot backup devices, and a tested procedure for switching to fallback content.
6. Plan Network Connectivity and Content Operations
Decide whether the display needs synchronous playback, scheduled asynchronous playback, cloud management, or a hybrid workflow. Then define the network connection, security boundary, user permissions, approval process, monitoring alerts, and recovery method. A network-connected LED display player should not depend on one undocumented account or one untested internet link.
Store approved fallback content locally so a network interruption does not leave the screen blank. Use role-based access, strong authentication, firmware-management procedures, and change logs. Remote monitoring should cover controller status, temperature, power, connectivity, and playback health.
7. Calculate Power and Cooling for LED Display Deployment
Obtain both maximum and typical power figures for the final cabinet configuration. Size branch circuits, distribution panels, breakers, cables, connectors, grounding, surge protection, and backup power according to local electrical rules and the calculated peak load. Do not size infrastructure from average consumption alone.
Heat is a reliability issue as well as a comfort issue. Model airflow around cabinets and power supplies, account for solar gain outdoors, and keep intake and exhaust paths clear. Enclosures may need fans, filtered ventilation, or air conditioning depending on climate and duty cycle.
8. Engineer the Structure and Weather Protection
A qualified engineer should verify the supporting structure, attachment points, anchors, cabinet weight, maintenance loads, seismic requirements, and outdoor wind loads. The design must also provide safe installation and service access. Temporary rental structures need a documented ballast or anchoring plan and inspection after assembly.
For outdoor equipment, verify the enclosure’s IP rating at the system level, not only the LED module. The IEC 60529 IP Code explains the classification used for protection against solids and water. Cable entries, doors, vents, drainage paths, and field connections must support the intended protection level.
9. Plan LED Display Deployment Maintenance and Spares
Serviceability affects uptime and lifetime cost. Confirm whether technicians can safely reach modules, power supplies, receiving cards, fans, and cables. Check the time and tools needed to replace each component without disturbing adjacent cabinets.
Buy project-specific spares from the same production batch when color matching matters. A practical kit often includes LED modules, power supplies, receiving cards, hub boards, data cables, power cables, and fastening hardware. Store configuration files, calibration data, cabinet maps, wiring diagrams, firmware versions, and commissioning records with the spares.
10. Compare Total Cost of Ownership
Purchase price is only one line in the budget. Compare structural work, electrical upgrades, control equipment, installation labor, commissioning, content production, software, connectivity, energy, cleaning, preventive maintenance, spare parts, access equipment, and expected downtime. A lower-cost screen can become the expensive option if it consumes more power or is difficult to service.
Define acceptance criteria before purchase. These can include dead-pixel limits, cabinet alignment, brightness and color uniformity, full-load operation, signal failover, network recovery, thermal performance, and operator training. Link the final payment milestone to documented commissioning results.
Recommended LED Display Deployment Process
- Survey the site: measure viewing distances, ambient light, mounting space, access, power, network, and environmental exposure.
- Create the specification: state screen dimensions, resolution, pitch, brightness, controller capacity, cabinet design, protection, and service direction.
- Engineer the system: complete structural, electrical, thermal, signal, and network plans.
- Factory test: inspect modules and cabinets, load the configuration, test content, and record calibration data.
- Install and commission: verify alignment, grounding, power draw, temperature, image quality, failover, and remote monitoring.
- Hand over operations: train users, deliver documentation and spares, and schedule preventive maintenance.
LED Display Deployment FAQs
What is the most important factor in LED display deployment?
The most important factor is defining the real use case and viewing conditions before selecting hardware. That decision drives pixel pitch, brightness, screen size, controller capacity, cabinet design, protection, and budget.
How do I choose the right pixel pitch?
Use the nearest expected viewing distance and the detail in the content as the starting point. Compare several pitches with real content at full scale, then balance image quality against total pixels, power density, processing capacity, and cost.
What should an outdoor LED display plan include?
It should include sunlight-readable brightness with automatic dimming, weather and corrosion protection, drainage, thermal control, wind-load engineering, surge protection, safe service access, and compliance with local structural, electrical, fire, and advertising rules.
Why is the LED display controller important?
The controller determines how source content is scaled, divided, transmitted, synchronized, and monitored across the screen. Its total pixel capacity, per-port limits, input formats, redundancy options, and compatibility with receiving cards must match the final resolution and operating needs.
How much spare equipment should a project keep?
The right quantity depends on screen size, service level, part lead times, and failure impact. Keep enough matched modules and critical control and power components to restore common faults without waiting for international shipping. Agree on the spare-parts list before production.
Final Takeaway
Reliable LED display deployment comes from treating the screen as a complete operating system rather than a collection of panels. Specify the visual target, controller and signal capacity, power and thermal design, structure, network, maintenance access, documentation, and lifecycle cost together. For help matching LED modules, controllers, processors, power supplies, and cabinets to a project, contact the LED Controller Card team with the screen dimensions, pixel pitch, application, location, and preferred service method.