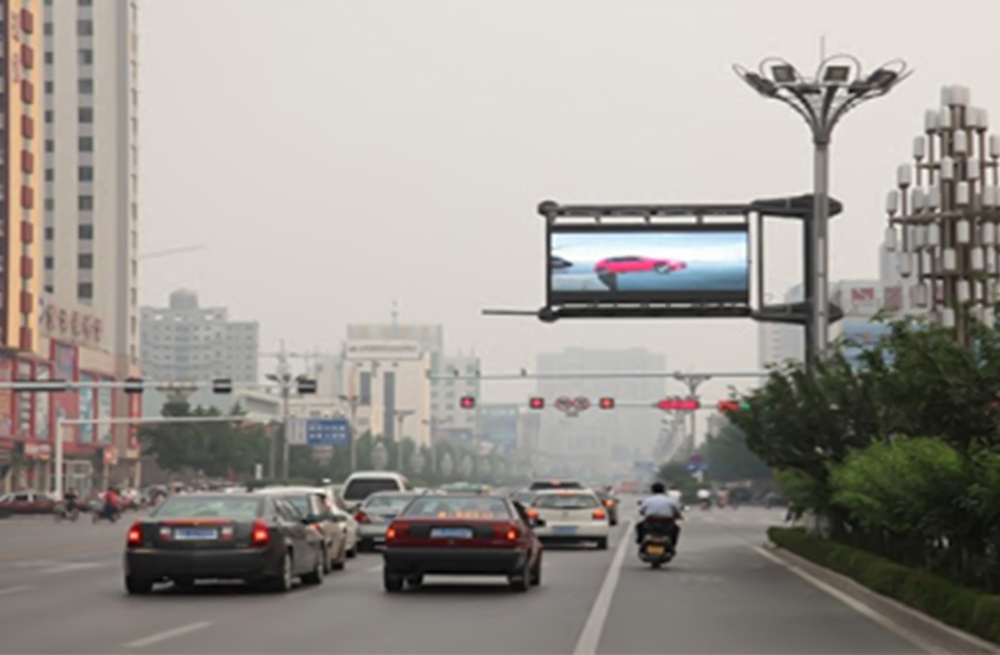
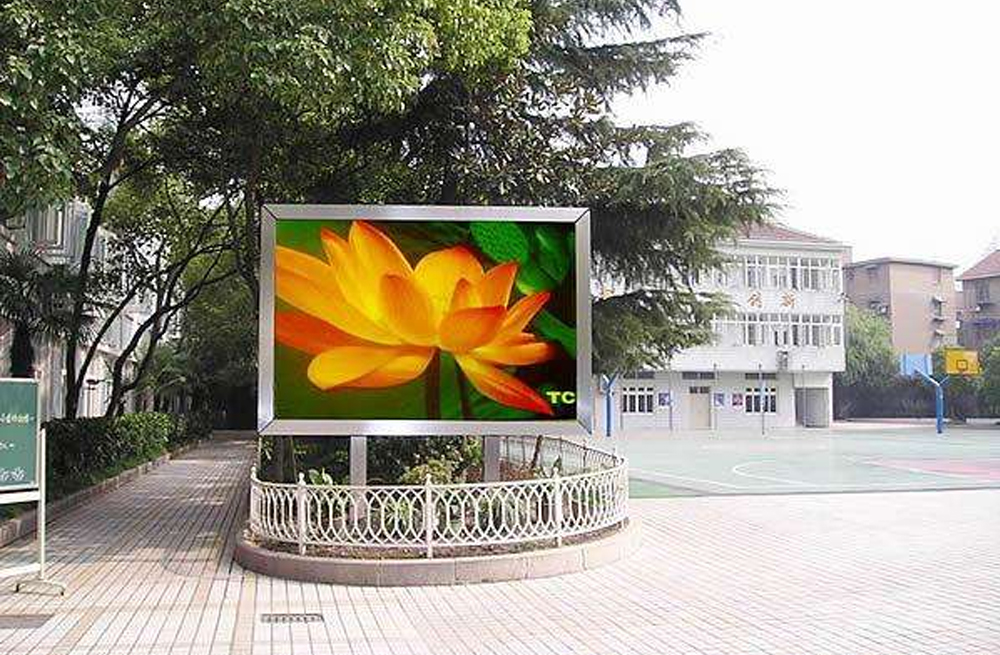
Quick answer: Outdoor LED display modules create the most impact in public spaces when the screen matches the viewing distance, ambient light, weather exposure, service access, and communication goal. Choose the right pixel pitch and brightness, use automatic brightness control, keep messages readable at a glance, and plan maintenance before installation. The best result is not simply the brightest or largest screen. It is a reliable display that delivers useful content without creating glare, clutter, or safety risks.
This guide explains how planners, integrators, venue operators, and advertisers can select and use outdoor LED display modules for plazas, transport hubs, stadiums, retail districts, campuses, and roadside locations. It also provides practical checkpoints for content, control systems, compliance, maintenance, and performance measurement.
What Are Outdoor LED Display Modules?
Outdoor LED display modules are the replaceable display sections that form a larger LED screen. Each module contains LEDs, driver electronics, and a protective structure. Modules connect inside cabinets with power supplies, receiving cards, data cables, and a controller or media player. Together, these components create a complete outdoor LED display.
Compared with indoor modules, outdoor modules are designed for stronger ambient light and greater exposure to rain, dust, temperature changes, and humidity. However, an outdoor label alone does not guarantee that a product suits every site. The complete screen, including cabinets, connectors, power distribution, structure, and ventilation, must meet the conditions of the installation.
1. Define the Purpose Before Choosing Outdoor LED Display Modules
Start with one primary communication goal. A transit information board has different requirements from a stadium replay screen or a retail advertising display. Defining the goal prevents overspending on specifications that do not improve the audience experience.
- Public information: Prioritize legibility, uptime, scheduling, and emergency-message capability.
- Advertising: Prioritize audience reach, content rotation, proof of play, and campaign measurement.
- Events and entertainment: Prioritize refresh rate, color consistency, video performance, and fast replacement.
- Wayfinding: Prioritize simple layouts, clear symbols, high contrast, and dependable data feeds.
- Community communication: Prioritize multilingual content, local relevance, moderation, and accessible design.
Also document who will view the screen, where they will stand or move, how long they can look at it, and what action the message should prompt. These answers guide every later decision.
2. Match Module Specifications to the Site
| Specification | Why it matters | What to verify |
|---|---|---|
| Pixel pitch | Controls image detail and practical viewing distance | Closest and typical viewing positions, text size, and content type |
| Brightness | Keeps content visible in ambient light | Site orientation, direct sun, night limits, and automatic dimming |
| Ingress protection | Helps protect against water and dust | Whether the stated IP rating applies to the front, rear, or complete enclosure |
| Operating temperature | Affects reliability in hot and cold conditions | Local climate, solar heat gain, ventilation, and manufacturer limits |
| Viewing angle | Determines visibility from different approaches | Pedestrian paths, traffic lanes, mounting height, and screen orientation |
| Refresh and grayscale performance | Affects motion, gradients, and camera recording | Live video, broadcast cameras, mobile photography, and low-brightness quality |
| Service method | Controls repair time and access requirements | Front or rear access, module removal method, and safe technician workspace |
| Power consumption | Influences operating cost and electrical design | Typical and maximum power, distribution capacity, and energy-saving modes |
Choose Pixel Pitch From Viewing Distance
Pixel pitch is the center-to-center distance between neighboring pixels, measured in millimeters. A smaller pitch can show finer detail at close range, but it usually costs more and increases the number of pixels the system must drive.
As an initial planning rule, a pitch value in millimeters is often close to a comfortable minimum viewing distance in meters. For example, P4 is commonly evaluated around 4 meters and beyond. This is only a starting point. Text size, screen dimensions, viewing angle, content, and audience movement can change the appropriate choice. Confirm the final pitch with a site survey and a full-size content test.
Control Brightness Instead of Running at Maximum Output
Outdoor LED display modules need enough output to remain readable in daylight, but maximum brightness is not the operating target at all hours. Excessive nighttime brightness causes glare, wastes energy, shortens component life, and may violate local rules. Use scheduled brightness profiles or an ambient-light sensor, such as a compatible LED display brightness sensor, to adjust output as conditions change.
Compare products using calibrated brightness data and test the proposed screen orientation at the brightest time of day. Ask the supplier how color temperature and grayscale behave when the screen dims, because low-brightness image quality matters after sunset.
Verify Weather Protection for the Complete System
An IP rating describes resistance to solid particles and water under defined test conditions. It does not cover every outdoor risk. Confirm the rating of the module face, cabinet rear, connectors, power enclosure, and cable entries. Also plan drainage, corrosion resistance, surge protection, grounding, ventilation, and wind loading with qualified local professionals.
3. Place Outdoor LED Displays for Visibility and Safety
A high-traffic location is valuable only when the audience can see and understand the screen. Conduct a site survey at different times of day. Record sight lines, sunlight direction, nearby lighting, traffic flow, obstructions, mounting height, and the distance at which viewers first notice the display.
- Position the main message within the natural line of sight.
- Keep essential text inside a clear area that is not blocked by landscaping, signs, or street furniture.
- Allow enough viewing time for moving audiences to read the complete message.
- Avoid angles that create excessive glare or reduce effective contrast.
- Protect pedestrian routes and technician access areas.
- Confirm structural, electrical, planning, and advertising requirements before installation.
Roadside and transport applications require particular care. Content should not imitate traffic-control signals, obstruct official signs, or demand prolonged attention from drivers. Local authorities may limit animation, luminance, operating hours, or message frequency.
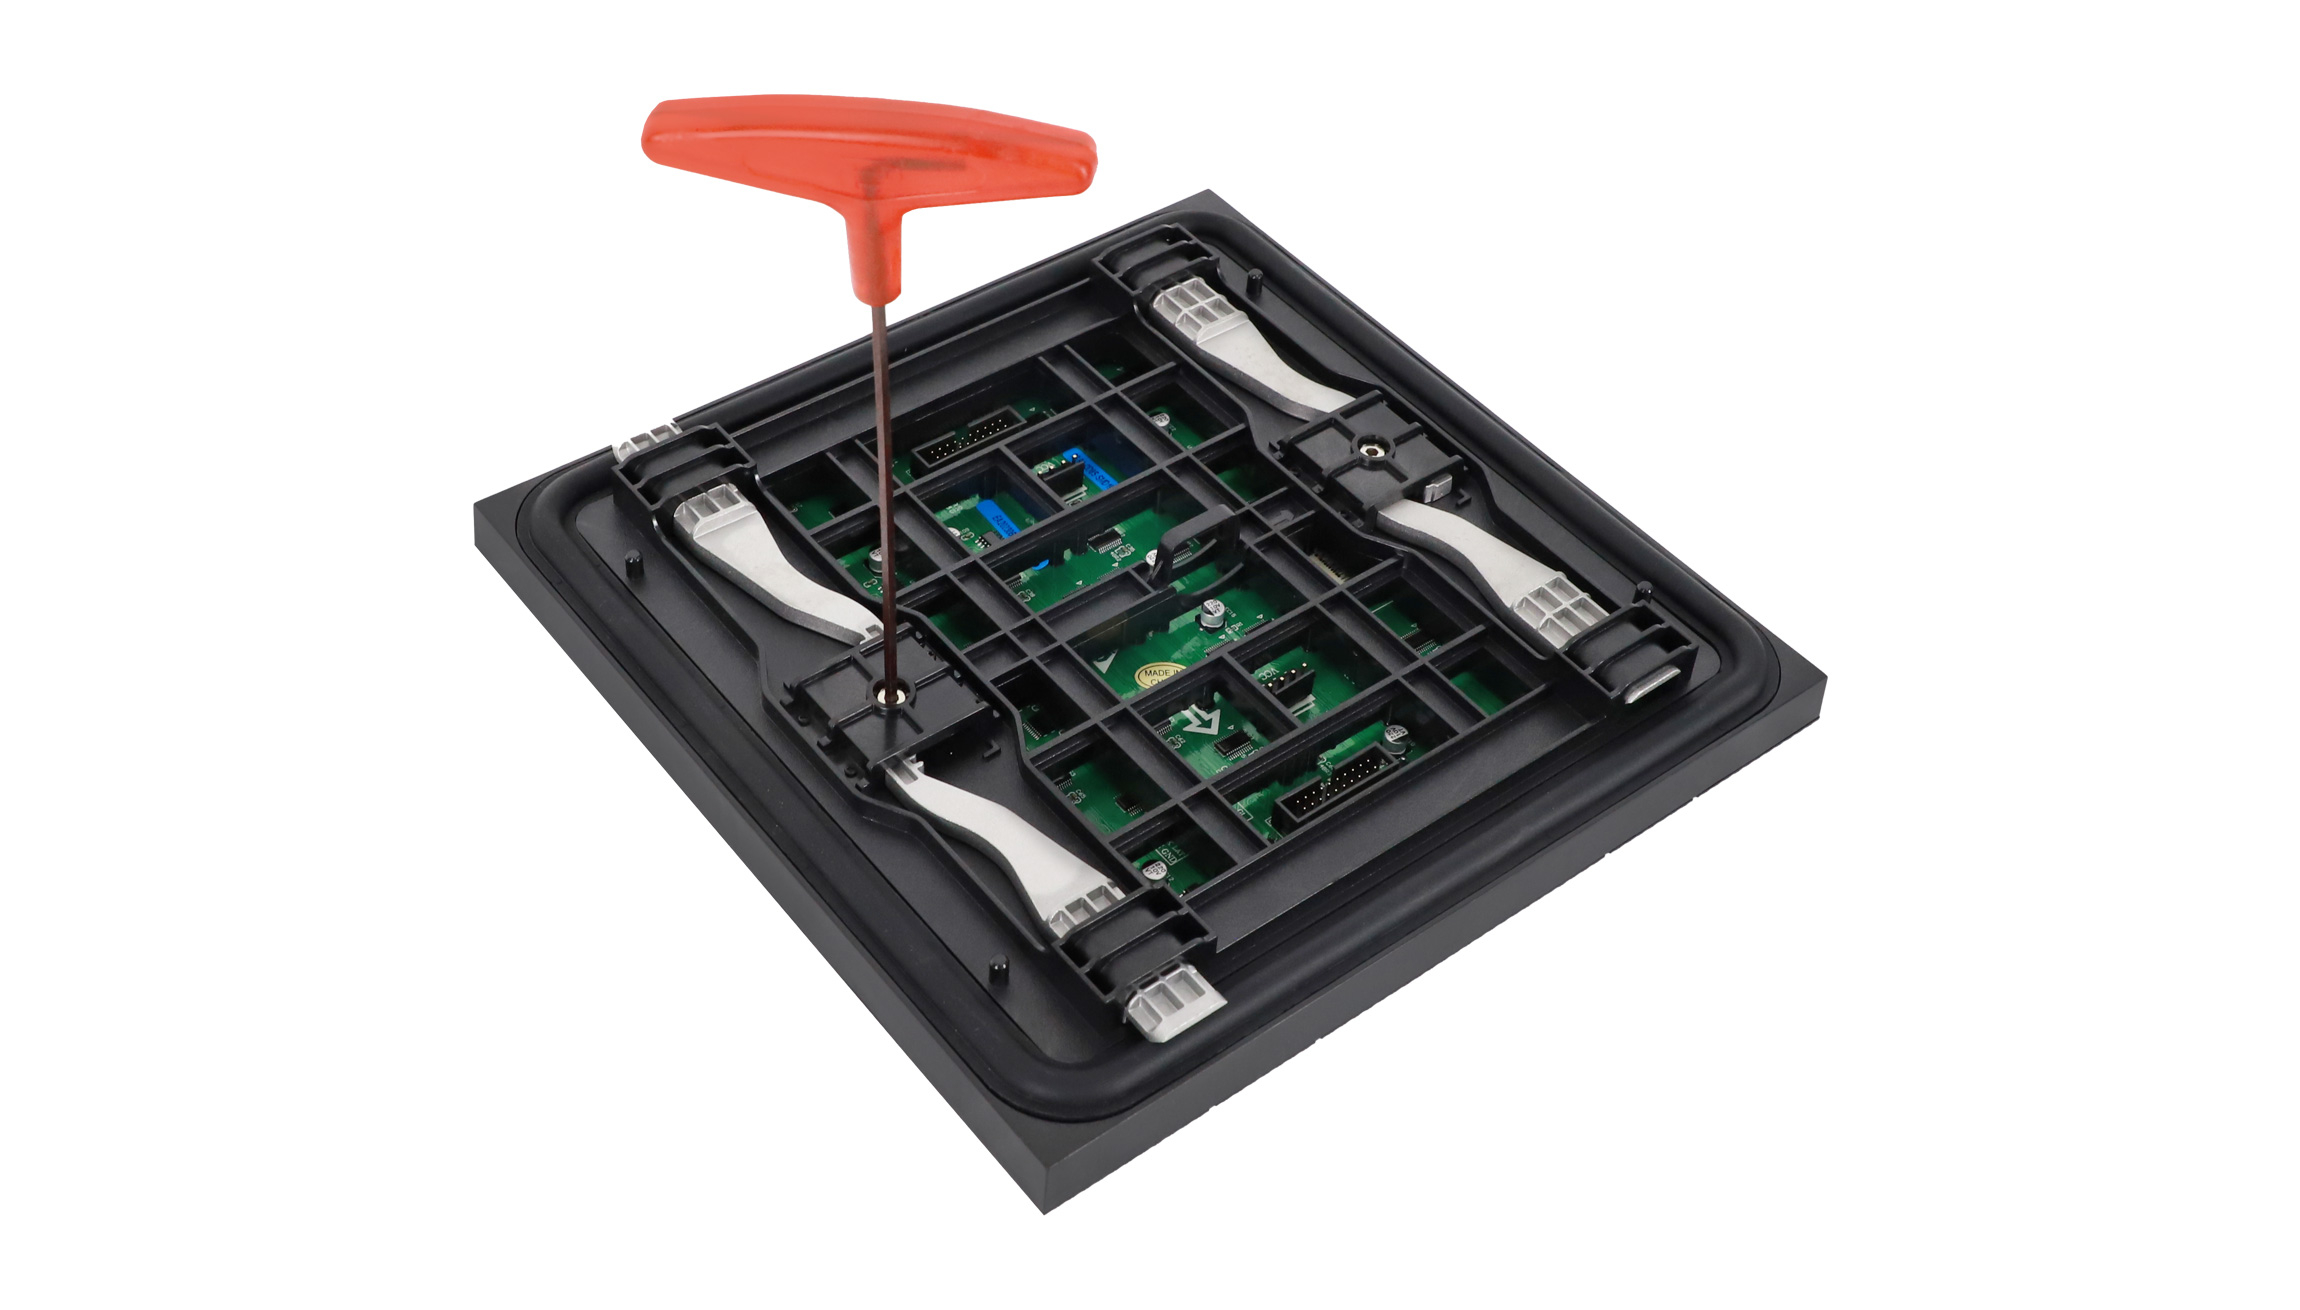
4. Use Front-Service Modules Where Rear Access Is Limited
Front-service outdoor LED modules allow technicians to remove modules and, depending on the cabinet design, reach key components from the display face. This design is useful on building facades, columns, shallow wall installations, and other locations where a rear service corridor is impractical.
Front service can reduce the space behind the screen and shorten some repairs. However, it does not remove the need for safe access. Verify the module locking method, tool requirements, cable reach, weather seals, fall protection, and the process for replacing power and control components. For a large installation, test a complete service procedure before approving the structure.
5. Design Content for Fast Understanding
Public-space audiences often move while viewing the screen. Therefore, each content frame should communicate one main idea quickly. Use a clear hierarchy: a short headline, one supporting detail, and one action when an action is necessary.
- Use large type: Test the smallest important text from the farthest intended viewing point.
- Create strong contrast: Separate text from its background and avoid visually busy imagery behind key information.
- Keep motion purposeful: Use movement to guide attention, not to animate every element.
- Respect dwell time: Give viewers enough time to read a full frame before it changes.
- Design for real conditions: Preview content on the installed screen in daylight and after dark.
- Provide timely value: Schedule transport updates, event information, weather notices, and community messages when they are most relevant.
QR codes can connect the display to mobile content, but only use them where viewers can stop safely. Make the code large, high contrast, and visible long enough to scan. Always show a short human-readable destination or instruction as a fallback.
6. Build a Reliable Control and Power System
The module is one part of the display. Image quality and uptime also depend on the controller, sending device, receiving cards, media player, power supplies, network, and configuration files. Select components as one tested system rather than as unrelated parts.
A typical signal path runs from a content source or asynchronous LED controller to receiving cards inside the cabinets, then to the modules. A well-designed system includes monitored LED power supplies, labeled signal paths, suitable redundancy for critical applications, and secure remote access.
- Use role-based accounts and strong credentials for the content management system.
- Restrict remote access to approved devices and networks.
- Keep a verified backup of receiving-card and screen configuration files.
- Define who can approve routine, advertising, and emergency content.
- Test failover behavior for loss of signal, network, or power.
- Set a safe default screen state instead of leaving corrupted or outdated content visible.
7. Plan Maintenance Before Installation
Preventive maintenance protects image quality and reduces unplanned downtime. The exact schedule should follow the manufacturer, environment, and duty cycle. A coastal installation may need more frequent corrosion checks, while a dusty roadside screen may need more frequent cleaning and filter inspection.
- Inspect modules for dead pixels, color variation, loose masks, and physical damage.
- Check cabinet seals, doors, fasteners, drains, cables, and connectors.
- Review fans, filters, temperature data, and ventilation paths.
- Measure power distribution and investigate repeated supply or circuit faults.
- Confirm automatic brightness control at several ambient-light levels.
- Keep matched spare modules, receiving cards, power supplies, and cables on site.
- Calibrate replacement modules so brightness and color match the surrounding screen.
- Record every fault and repair to identify recurring component or environmental problems.
8. Protect Accessibility, Comfort, and Public Trust
An effective public display should be legible without becoming intrusive. Avoid rapid flashing and high-contrast patterns that can cause discomfort. Do not rely on color alone to communicate status. For public information, use plain language, recognizable symbols, and translations appropriate to the audience.
Brightness is also a community issue. Set lower night levels, review spill light toward homes and roads, and provide an operating contact for public venues. When cameras or audience analytics are used, follow applicable privacy rules and disclose data practices clearly. Process only the data needed for the stated purpose.
9. Measure the Impact of Outdoor LED Display Modules
Choose metrics that match the original goal. Screen size and brightness are inputs, not outcomes. Establish a baseline before launch, then compare performance by content type, time, and location.
| Goal | Useful measures |
|---|---|
| Public information | Message availability, update speed, comprehension surveys, and service uptime |
| Advertising | Verified plays, reach estimates, QR visits, offer redemptions, and campaign lift |
| Wayfinding | Route completion, help requests, congestion, and time to destination |
| Events | Audience visibility, engagement, sponsor delivery, and production incidents |
| Operations | Energy use, faults, repair time, module failure rate, and maintenance cost |
Review these measures regularly. If engagement is weak, test message length, creative hierarchy, timing, and placement before increasing brightness. Small content and scheduling changes often improve results without hardware changes.
Common Mistakes to Avoid
- Choosing pixel pitch from price alone without checking viewing distance.
- Running the display at full brightness day and night.
- Treating a module IP rating as proof that the complete screen is weatherproof.
- Installing a rear-service cabinet where technicians cannot reach the rear safely.
- Using long paragraphs, small text, or rapid content changes.
- Ignoring local planning, structural, electrical, accessibility, or traffic rules.
- Buying no calibrated spares from the same production batch.
- Giving many users unrestricted remote publishing access.
- Measuring impressions without connecting them to the project goal.
Outdoor LED Display Module Selection Checklist
- Define the audience, purpose, viewing distance, and dwell time.
- Survey ambient light, climate, sight lines, access, and structural constraints.
- Select pixel pitch from the closest practical viewing distance and content detail.
- Specify brightness control for both daylight and nighttime operation.
- Verify front and rear protection, temperature limits, and corrosion resistance.
- Choose front or rear service based on the actual maintenance route.
- Validate controller, receiving card, module, and power compatibility.
- Test representative content on a full-size sample.
- Confirm permits, engineering approvals, and safety requirements.
- Prepare monitoring, spare parts, maintenance, and content governance plans.
Frequently Asked Questions
What pixel pitch is best for an outdoor LED display in a public space?
The best pitch depends mainly on the closest viewing distance and the level of detail in the content. A smaller pitch supports closer viewing, while a larger pitch can be economical for long-distance viewing. Use the pitch-in-millimeters to distance-in-meters relationship only as an early estimate, then test actual text and imagery.
How bright should outdoor LED display modules be?
They should be bright enough for the site’s strongest expected ambient light and adjustable enough for comfortable nighttime viewing. There is no single brightness value for every installation. Screen orientation, shade, local limits, contrast, and automatic dimming all affect the correct operating level.
Does an IP65 rating make an LED module suitable for every outdoor site?
No. An IP rating describes specific dust and water protection, and the stated rating may apply only to one side of a module or cabinet. Temperature, salt, ultraviolet exposure, drainage, wind, lightning, connectors, and the complete enclosure also affect outdoor suitability.
When should I choose front-service outdoor LED modules?
Choose front service when there is little or no safe rear access, such as on a wall or facade. Confirm that technicians can remove modules and reach other serviceable components safely from the front. The cabinet design and installation structure must support the full maintenance process.
How can an outdoor LED display use less energy?
Use automatic brightness control, efficient power supplies, dark content where appropriate, scheduled operating hours, and sleep or black-screen modes. Track actual energy use and temperature rather than relying only on maximum rated power.
Conclusion
Successful outdoor LED display modules combine appropriate hardware, clear content, responsible brightness, safe placement, and disciplined maintenance. Begin with the audience and purpose, verify specifications against the real site, and measure outcomes after launch. For product selection, compare available outdoor LED display screen solutions or contact the LED Controller Card team with the screen size, viewing distance, location, climate, and service-access details of your project.