A60 automatic brightness control requires a compatible external light sensor; the sensor is not included merely because the player has SENSOR connectors. Confirm the sensor, connection accessories and supported configuration with the supplier before approving an automatic-dimming installation. A player-only order is not evidence that the complete function is ready to use.
This question is especially useful for a signage integrator replacing a player or preparing an unattended display. An existing screen may already have a sensor and cable, while a new installation may have neither. Those two projects need different checks even when the proposed player has the same model name.
The Colorlight A60 specification lists sensor interfaces and describes sensors as separately purchased accessories. This article explains the resulting purchasing and acceptance questions. It does not identify a universal sensor model, provide a pinout or claim that any sensor with a similar connector is compatible.
What the A60 sensor interface establishes
The player provides a connection point for supported sensing equipment. That is different from supplying the external equipment, installing it at a useful location and configuring the display’s response. Keep those items separate in the quotation so that a connector photograph is not mistaken for a complete automatic-brightness package.
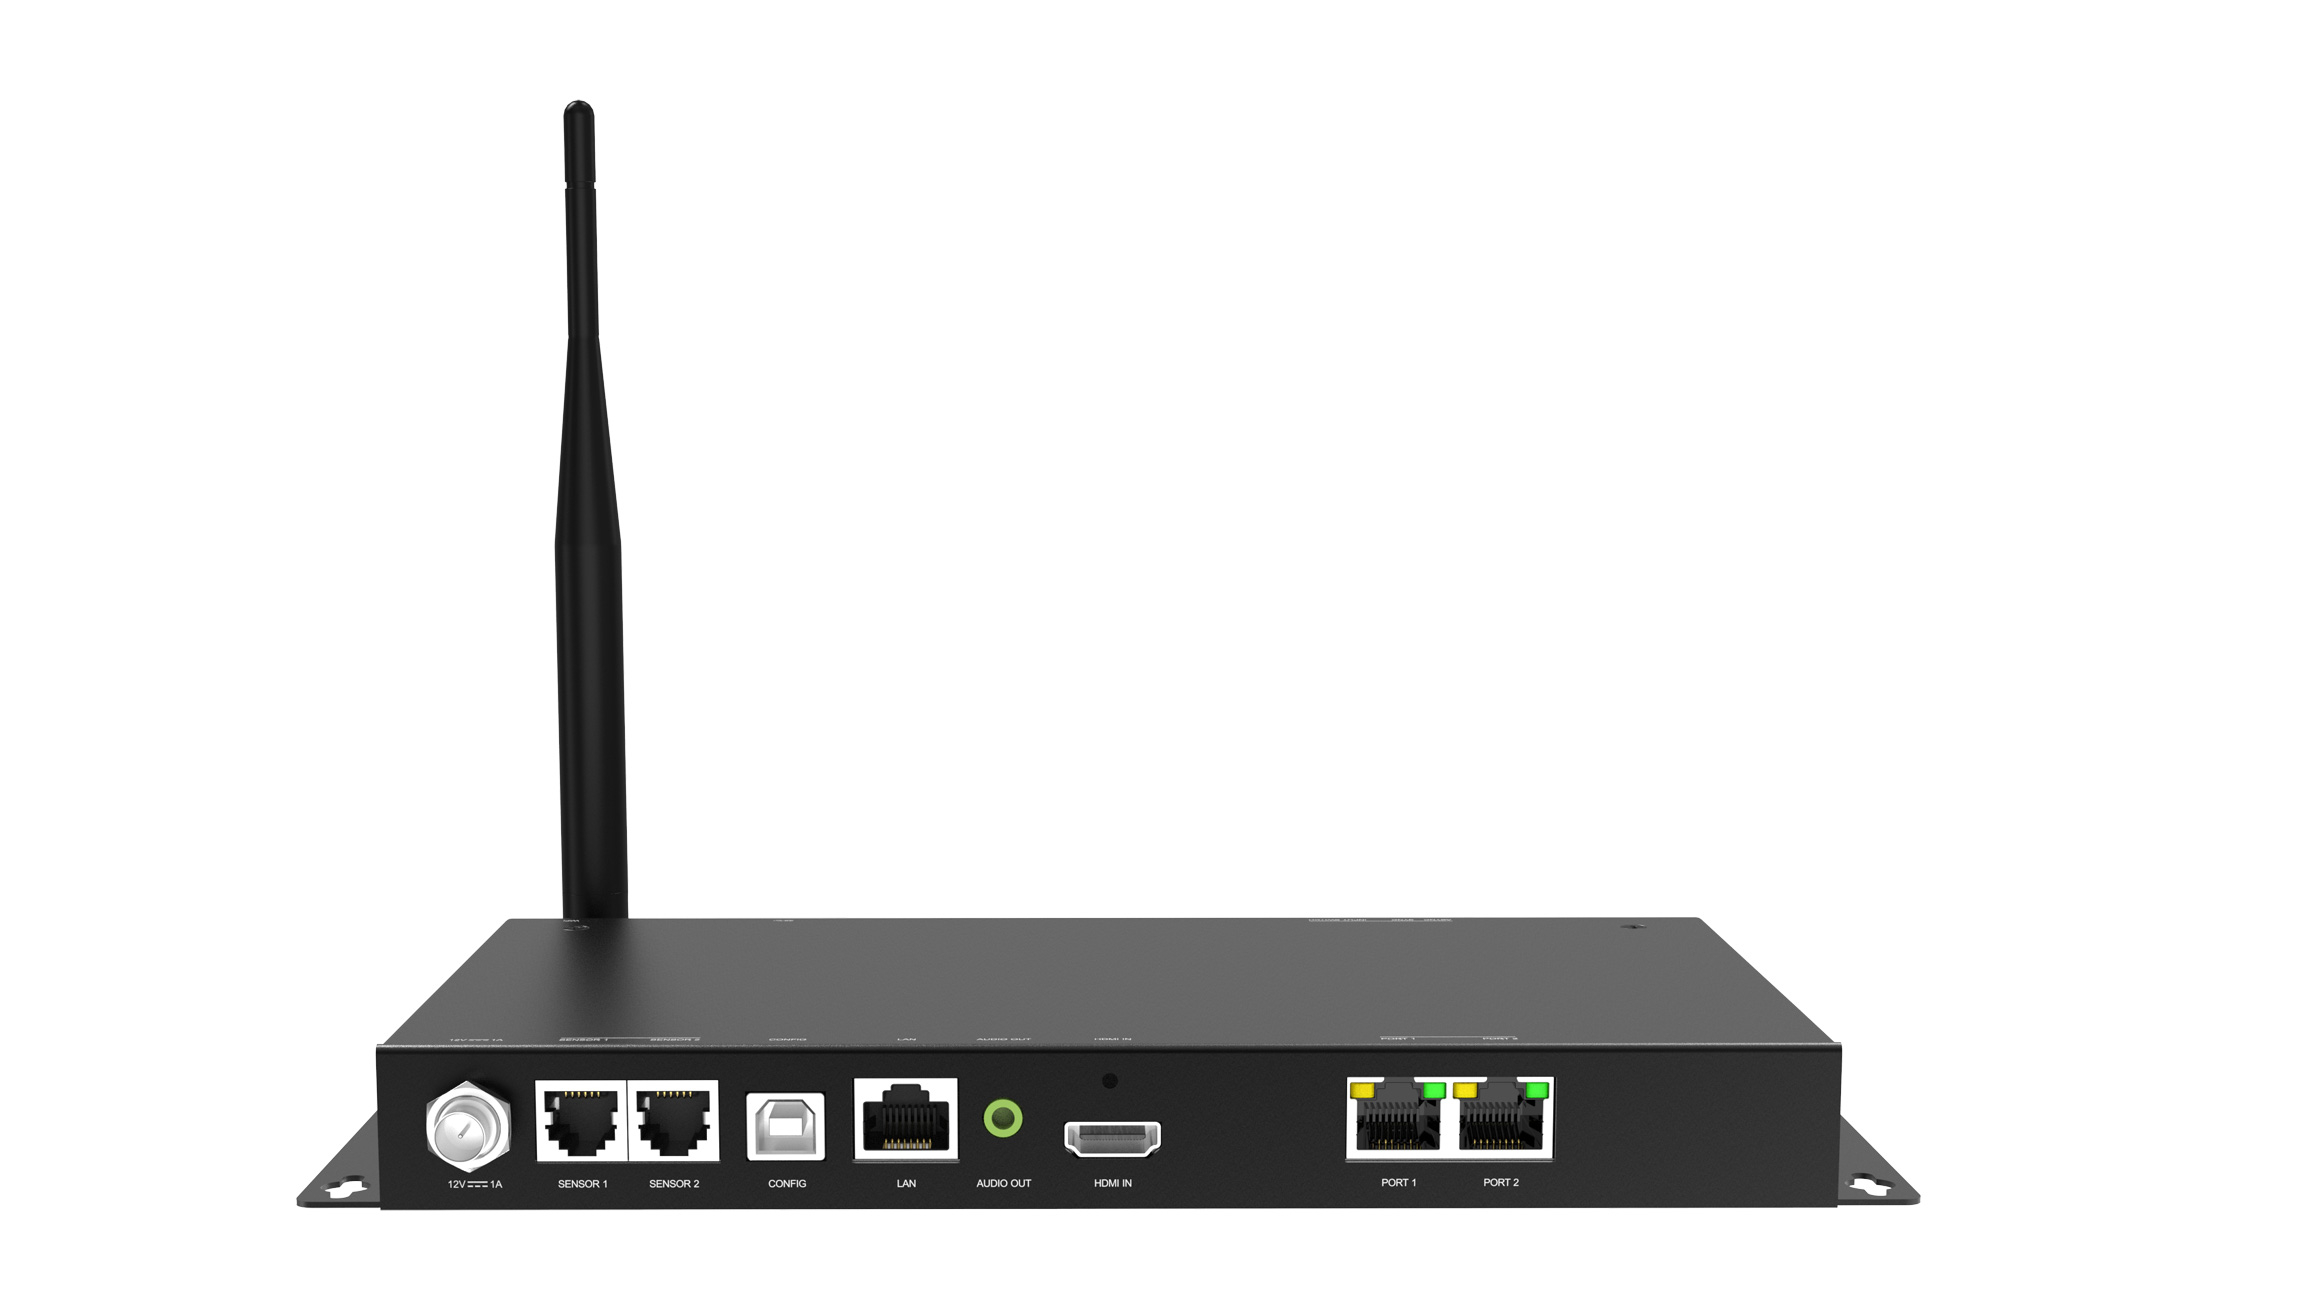
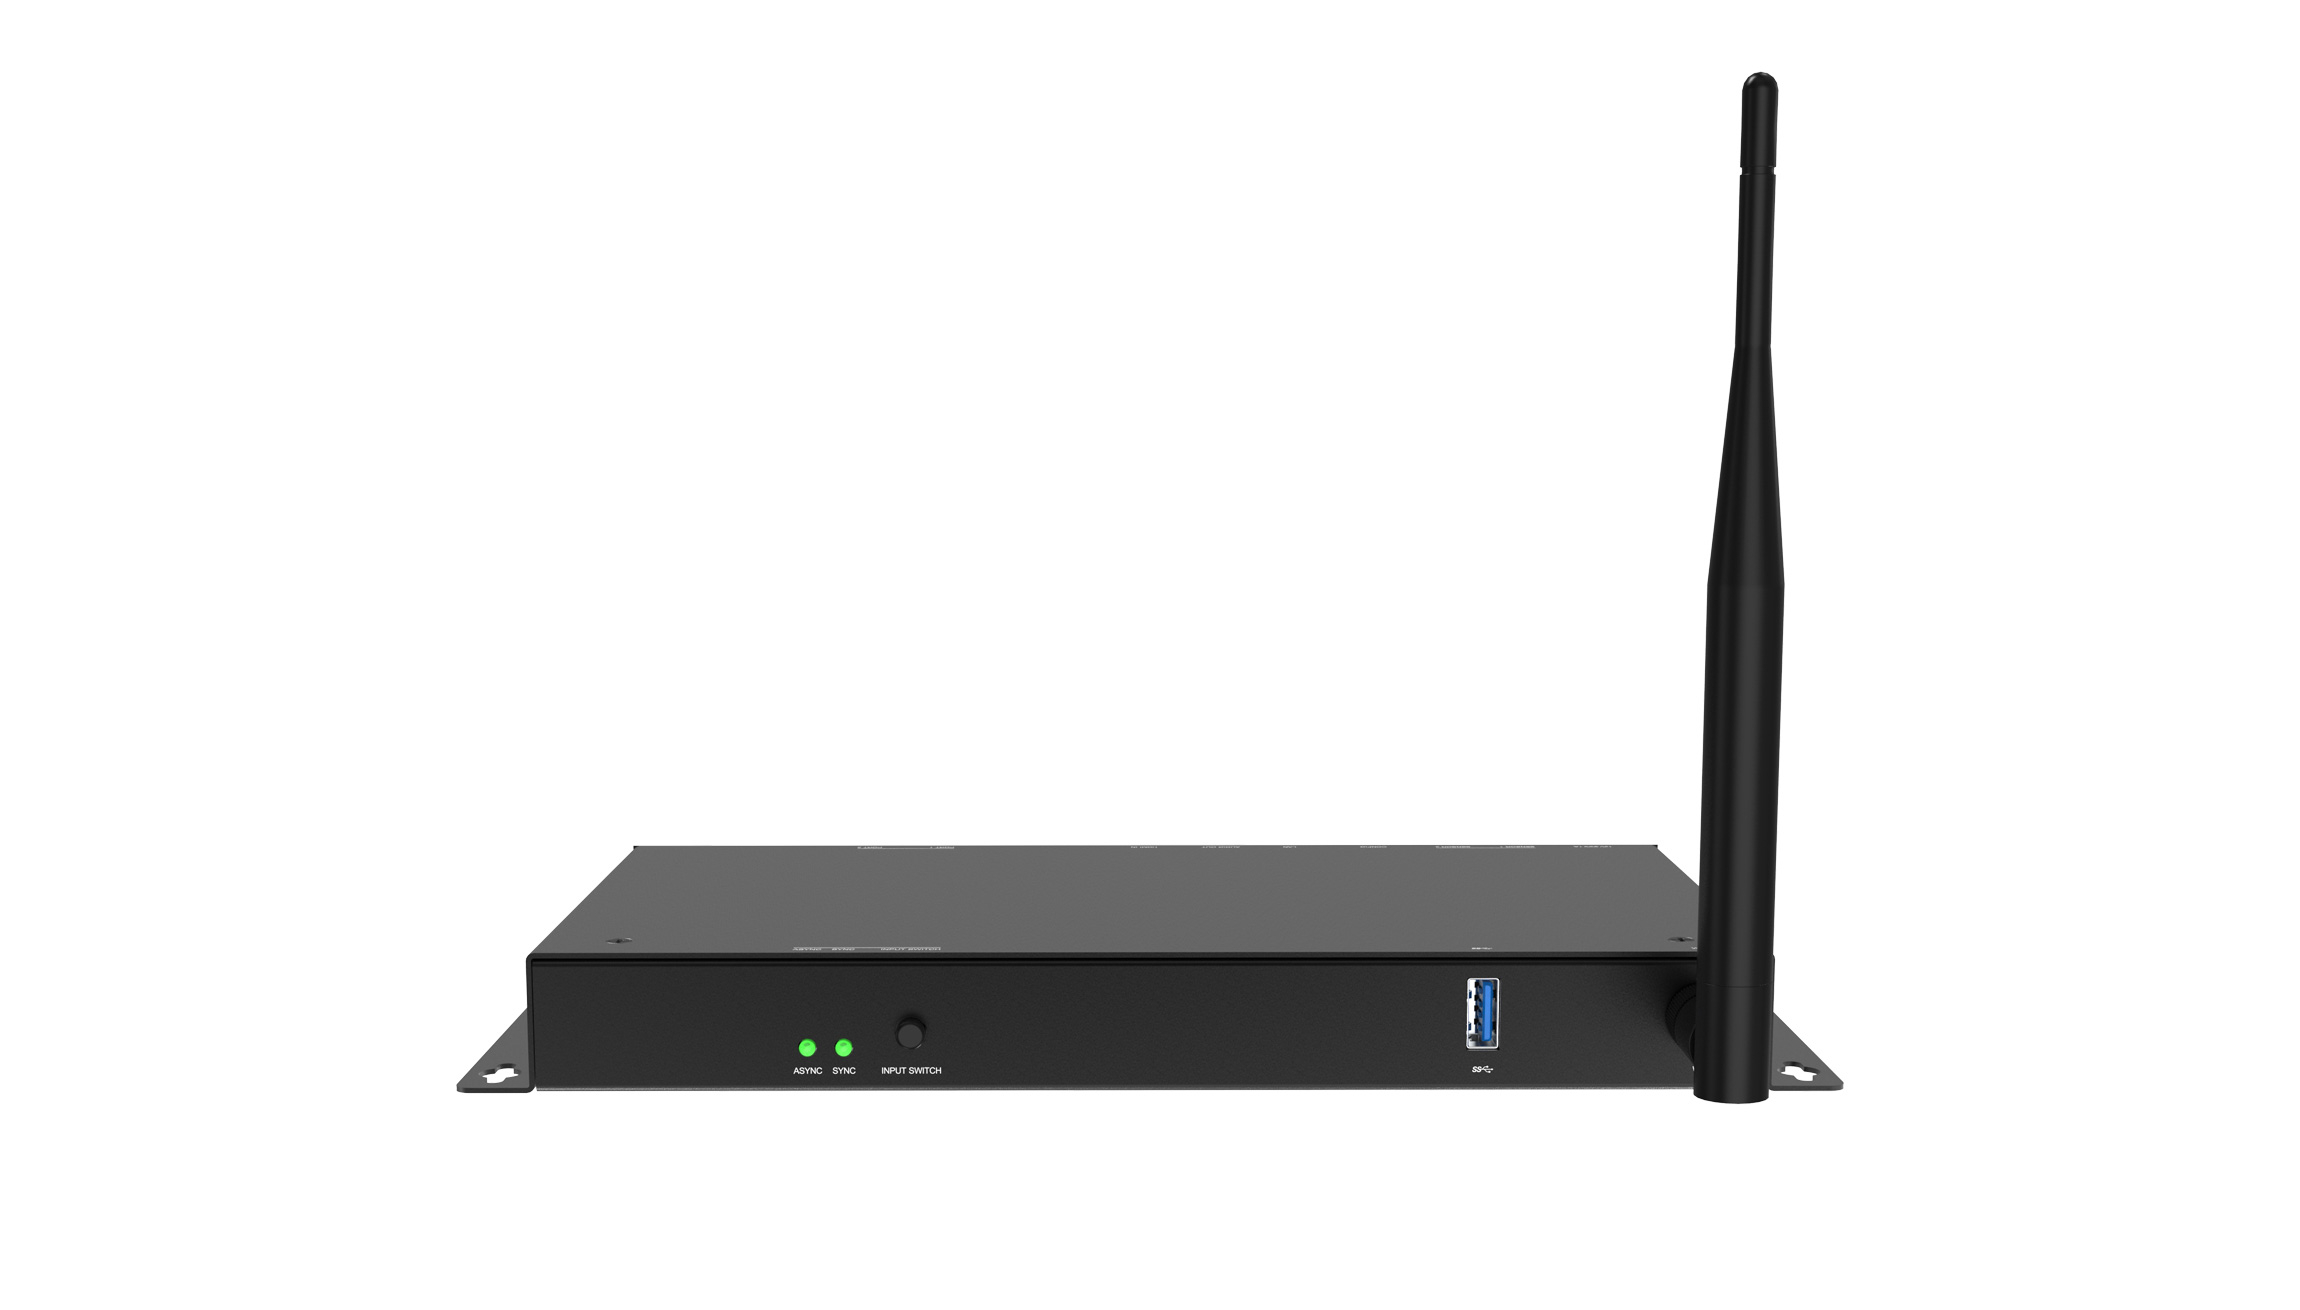
The rear panel has connectors marked SENSOR 1 and SENSOR 2. The names identify their intended role; they are not a promise that two sensors are bundled. They also should not be treated as interchangeable with the LAN or LED output connections located on the same panel.
For A60 automatic brightness control, the relevant reference is the A60 product specification, together with the documentation for the selected accessory and software version. Ask the supplier to identify all three. The specification describes interface capability, while the accessory documentation must resolve the actual sensor and connection requirements.
A60 automatic brightness control: what to put in the order
Request a named compatible ambient-light sensor, the necessary cable or connection assembly, and any required mounting accessories. Ask which of those items is included in the quoted package and which must be ordered separately. “Supports sensors” is a useful feature statement, but it is not an itemized delivery list.
For a replacement installation, provide photographs and labels from the existing sensor and cable. A matching plug shape alone does not confirm electrical or software compatibility. Have the responsible supplier check the accessory against the A60 and the intended configuration rather than adapting connectors by appearance.
Include a commissioning record in the requested deliverables. It should identify the player, sensor, software and settings used for the accepted result. For A60 automatic brightness control, the handover needs to demonstrate a useful screen response as well as the presence of a sensor reading.
The following table turns those requirements into checks that purchasing and installation staff can share. It deliberately avoids assigning an unverified sensor model, cable length or brightness curve to every project.
| Order item | Evidence to request | Acceptance question |
|---|---|---|
| Sensor identity | Accessory model and compatibility confirmation | Is it supported with this player and software? |
| Connection assembly | Cable type, supplied parts and installation instructions | Can the planned route be completed as specified? |
| Mounting arrangement | Location photograph or site drawing | Does the position represent the intended ambient conditions? |
| Control settings | Recorded limits and response settings where supported | Does the configured response fit the site? |
| Handover and recovery | Saved setup record and documented manual procedure | Can the operator identify the setup and recover control? |
Choose the sampling location during the site survey
The sensor responds to conditions where it is installed, which may differ from conditions at the display face. A sensor hidden deep inside a cabinet cannot be assumed to represent the surrounding daylight. Similarly, a position affected by a nearby lamp or the display’s own light may produce a response that does not match the intended viewing conditions.
Survey the likely mounting position in daylight and after dark. Record shadows from awnings, trees or nearby structures, and consider how those conditions change over the day. These are site-planning recommendations; the accessory’s installation instructions remain the source for its permitted mounting and environmental conditions.
Avoid specifying A60 automatic brightness control from a desk photograph alone. Give the installer a view of the display, the proposed sensor position and the cable route. Agree on what the sensor is intended to represent before deciding whether a particular placement is satisfactory.
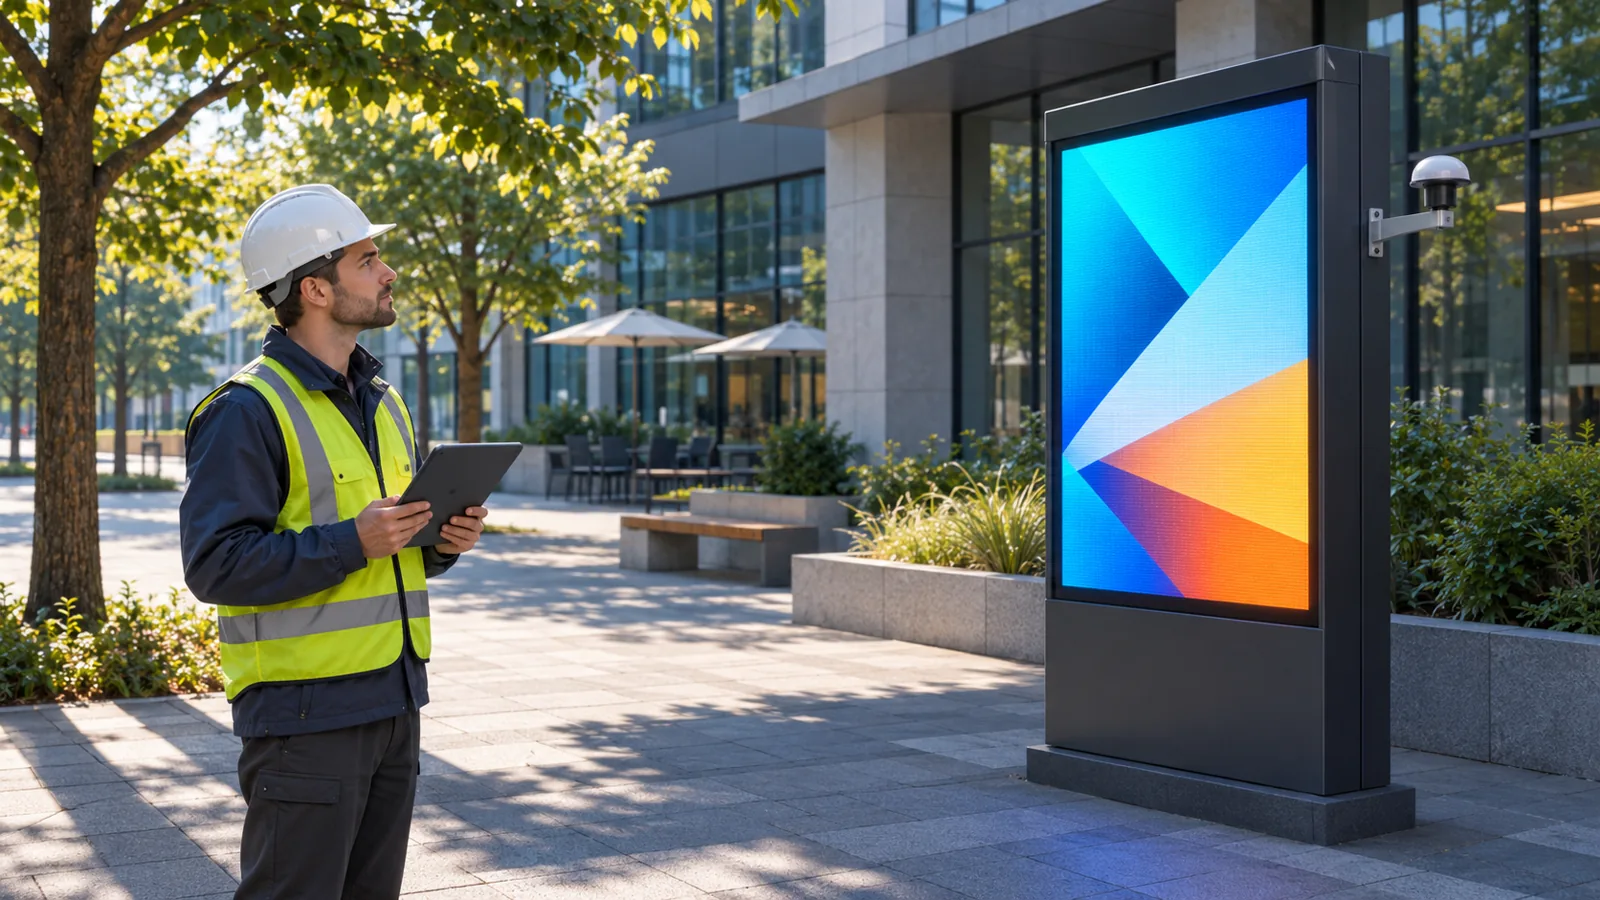
The illustrative scene shows a technician comparing surrounding light and an illuminated display, with a generic external sensing device. It is not an A60 accessory photograph, a customer installation or a validated mounting design. Actual hardware and placement must follow the chosen accessory’s documentation and the site’s requirements.
Check the response rather than only the reading
Test the selected sensor and player together before final handover. Confirm that the software recognizes the intended device and presents the expected information. Then verify that the configured brightness response occurs at the display. A changing input value is only part of the acceptance evidence.
Set the site’s permitted brightness range with the responsible operator or designer. A60 automatic brightness control does not remove the need to agree on acceptable daytime readability and nighttime appearance. Do not assume that the same settings are appropriate for a bright outdoor location, a shaded entrance and an indoor lobby.
Record the conditions used for the test, the settings applied and the observed response. Where a supplier claims particular timing, adjustment steps or limits, ask for the supported configuration and test those claims. This guide does not assign a universal response speed or promise that all software versions offer the same controls.
Check how the agreed settings behave after a controlled restart, using the documented saving procedure. Ask for the supported manual-control or recovery process if the sensor becomes unavailable. Do not assume a particular failure state until the relevant documentation or a controlled test establishes it.
Keep the player and accessory records together
Store the sensor model, installation photographs, cable record and configuration details with the display’s service information. Name the person responsible for changing the settings after handover. A later technician should be able to distinguish an intentional limit from a setting left over from the commissioning test.
When assessing the Colorlight A60 player, also confirm that the overall display and playback arrangement fits the project. Automatic light sensing is an accessory function; it does not verify receiving-card compatibility, screen mapping or the content-update workflow.
Recheck A60 automatic brightness control after changes that affect the sampling location, such as relocating the display or adding an illuminated sign nearby. Keep the previous accepted settings and record why a change was made. This makes future service decisions traceable without presenting every unexpected response as a failed player.
Questions before ordering sensor accessories
Does automatic dimming guarantee a particular electricity saving?
No fixed saving is established here. Power use depends on the display hardware, content, brightness settings and operating hours. If energy reduction is part of the purchasing case, agree on a measurement method and compare actual operation under documented conditions.
Does a light sensor replace point-by-point calibration?
No. Ambient-light-based brightness adjustment and correction of pixel brightness or color differences address different tasks. Define any calibration requirements separately. A wall can respond to daylight yet still need attention to visible differences between modules or pixels.
Does sensor support prove that the complete installation is weatherproof?
No. Check the environmental suitability of the player location, chosen sensor, connections and mounting separately. A feature description does not establish an enclosure rating for the assembled installation. Request the applicable product documentation instead of assuming protection from a photograph.
Request the complete sensor package
For an A60 automatic brightness control inquiry, send the display location, indoor or outdoor conditions, intended operating hours, existing player and sensor labels, and photographs of the proposed mounting area. Identify whether you need a new complete package or confirmation that an existing accessory can be retained.
Contact EagerLED with these installation details and request an itemized accessory list plus the available compatibility and commissioning information. Approve the sensor, connection plan and demonstrated screen response together so that the delivered installation matches the function you intended to buy.