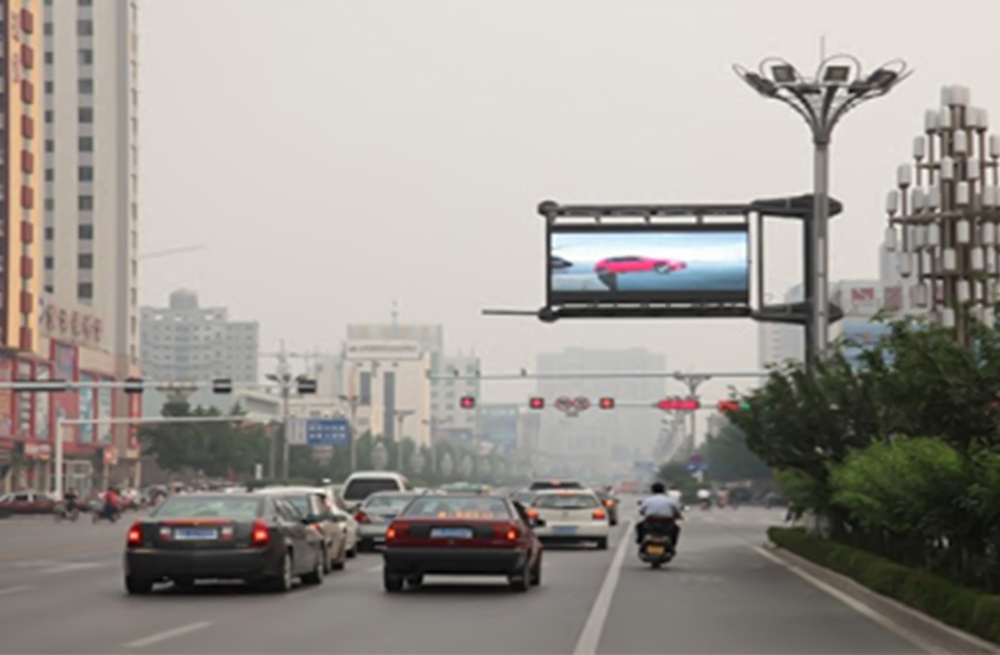
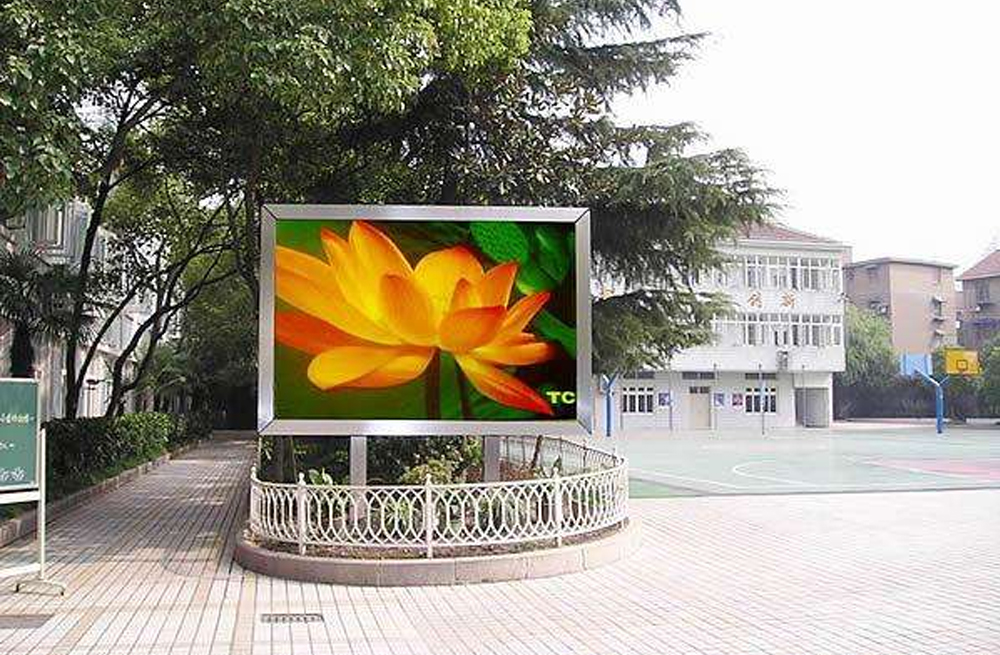
An LED grille screen should be installed only after the supporting structure, viewing angle, wind load, electrical supply, drainage, and service access have been verified. Because every facade and rooftop is different, the correct mounting method must match the building structure and local conditions. This guide explains the main LED grille screen installation methods, the checks required before work begins, and the safety steps that help an outdoor LED grid display operate reliably.
What is an LED grille screen?
An LED grille screen, also called an LED grid screen or transparent outdoor LED display, uses spaced light bars or modules instead of a solid cabinet. The open structure reduces weight and wind resistance while allowing light and air to pass through. It is commonly installed on building facades, glass curtain walls, rooftops, columns, and suspended structures.
The open design does not remove the need for engineering. The screen, frame, cables, power supplies, fasteners, and wind pressure all transfer loads to the building. A qualified structural engineer should approve the support system and anchoring plan before installation.
Common LED grille screen installation methods
| Method | Typical application | Main design consideration |
|---|---|---|
| External wall mounting | Concrete or steel building facade | Anchor strength, wall condition, drainage, and rear maintenance space |
| Outside a glass curtain wall | Commercial facade requiring high visibility | Independent steel support, controlled load transfer, and protected glass clearance |
| Inside a glass curtain wall | Weather-protected transparent display | Reflection, ventilation, viewing distance, and access for cleaning |
| Vertical rooftop mounting | Long-distance outdoor advertising | Wind load, lightning protection, waterproofing, and maintenance access |
| Column mounting | Roadside, plaza, or entrance display | Foundation design, torsion, cable routing, and anti-corrosion treatment |
| Suspended or ceiling mounting | Atrium, stage, or covered outdoor area | Rated suspension points, secondary safety devices, and overhead exclusion zones |
Pre-installation checklist
Complete these checks before materials are lifted or holes are drilled:
- Survey the site: record facade dimensions, wall materials, obstructions, access routes, viewing distance, sunlight direction, and nearby trees or buildings that may block the display.
- Confirm structural capacity: calculate the total dead load of the LED screen, frame, accessories, and cables, plus wind, seismic, snow, and maintenance loads required by local codes.
- Approve the drawings: construction drawings should define the support structure, anchor type, member size, connection details, module layout, tolerances, cable paths, and maintenance clearances.
- Check the environment: confirm the required ingress protection, operating temperature, humidity, corrosion category, drainage, and ventilation for the installation site.
- Plan electrical distribution: verify supply voltage, maximum current, circuit allocation, grounding, surge protection, isolators, and the location of distribution boxes.
- Plan safe access: define lifting points, scaffolding or work platforms, fall protection, rescue procedures, and a controlled area below the work zone.
- Inspect components: check modules, cabinets, connectors, power supplies, data cables, fasteners, and spare parts for transport damage before installation.
How to install an outdoor LED grid screen
- Verify the setting-out points. Compare the actual building dimensions with the approved drawings. Mark the screen centerline, outer boundary, anchor positions, and reference elevation. Do not force a prefabricated frame to fit an inaccurate opening.
- Install and inspect the support structure. Mount the steel frame or suspension system using the specified anchors and connection method. Check level, plumb, diagonal dimensions, weld quality, bolt torque, anti-corrosion coating, and clearance from the facade.
- Mount the LED units in sequence. Follow the manufacturer’s layout drawing and module numbering. Start from the designated reference point, keep joints even, and avoid twisting the light bars or placing stress on connectors.
- Route power and data separately. Secure cables with suitable supports, maintain bend radii, protect entries from water, label both ends, and keep power cables separated from signal cables where required. Create drip loops at outdoor entries.
- Ground and protect the system. Bond exposed metalwork to protective earth. Install the specified breakers, residual-current protection, surge protective devices, and lightning protection in accordance with local regulations and the electrical design.
- Weatherproof every connection. Confirm connector locks, cable glands, seals, covers, and drainage paths. Weatherproofing should prevent water entry without trapping condensation or blocking designed ventilation.
- Test before full energization. Check insulation, grounding continuity, polarity, voltage, and short circuits. Energize the system by circuit, then test receiving-card communication, module mapping, color, brightness, and temperature.
- Commission and document. Run uniform-color and video tests, inspect the display from the intended viewing area, record configuration files, photograph concealed work, and deliver as-built drawings and maintenance instructions.
Critical safety precautions
- Read the manufacturer’s safety warnings, installation manual, and project method statement before installation, power-on, or commissioning.
- Use only a structure and fastening system approved for the calculated loads and required safety factor. The original project specification may require the structure to support at least five times the combined screen and accessory weight; the engineer and local code take priority.
- Keep loose tools and materials away from edges. Use tool lanyards where appropriate and install secondary retention for suspended components.
- Create an exclusion zone below the screen. Prevent pedestrians and vehicles from entering it during lifting and overhead work, and provide clear signs and supervision.
- Workers at height must use suitable helmets, harnesses, anchor points, platforms, and rescue arrangements. Stop work during unsafe wind, rain, lightning, or poor visibility.
- Do not connect or disconnect modules while circuits are energized unless the manufacturer explicitly permits it. Apply lockout and tagout procedures during electrical work.
- Never drill into a glass curtain wall or transfer screen loads to glazing components unless the curtain-wall designer has approved the exact detail.
Installation errors to avoid
- Choosing a location by visibility alone: a prominent position is unsuitable if the wall cannot carry the loads or the display cannot be serviced safely.
- Ignoring wind around building edges: corners and rooftops can experience higher local wind pressure than the center of a facade.
- Blocking airflow or drainage: trapped heat and water shorten the life of modules, power supplies, and connectors.
- Mixing unlabelled cables: poor labeling makes commissioning slower and increases the risk of incorrect power or data connections.
- Skipping alignment checks: small frame errors become visible as uneven gaps, distorted content, or stressed modules across a large screen.
- Leaving no maintenance route: technicians need safe access to power supplies, receiving cards, connectors, and replaceable LED units.
Commissioning and maintenance
After installation, operate the screen at several brightness levels and display red, green, blue, white, gray, and moving video. Check for dead pixels, color differences, flicker, abnormal noise, overheating, water entry, loose modules, and communication errors. Save the final controller configuration and keep a circuit map with the equipment records.
Set a maintenance schedule based on the environment. Regular work should include cleaning ventilation paths, checking fastener torque and corrosion, inspecting seals and cables, testing protection devices, reviewing error logs, and examining the structure after severe weather. Isolate power before opening electrical compartments.
LED grille screen installation FAQ
How much weight should the support structure carry?
The support structure must carry the complete installed weight plus the wind, seismic, snow, maintenance, and other loads required for the site. Use the safety factor specified by the manufacturer, structural engineer, and local building code. Do not rely on screen weight alone.
Can an LED grille screen be fixed directly to a glass curtain wall?
Usually, the load should be transferred to an independently verified steel or building structure rather than to the glass. Any connection near a curtain wall must be approved by the facade designer and structural engineer.
How much maintenance space is needed behind the screen?
It depends on the product’s front- or rear-service design. Provide enough clearance to safely remove the largest serviceable component, open covers, route cables, and reach power supplies and receiving cards. Follow the manufacturer’s minimum dimensions.
Does an outdoor LED grid screen need lightning and surge protection?
Outdoor systems normally require protective grounding and coordinated surge protection, while exposed rooftop or column installations may also need a dedicated lightning protection design. Requirements depend on the building and local electrical codes.
Who should approve the final installation?
The completed work should be inspected by the responsible structural and electrical professionals, the installation contractor, and the owner or project representative. Commissioning records, configuration backups, test results, and as-built drawings should be handed over before normal operation.
Bottom line: reliable LED grille screen installation begins with a site-specific engineering review and ends with documented testing and safe maintenance access. Correct structural design, weatherproof wiring, grounding, alignment, and ongoing inspection protect both the display and the people around it.