Quick answer: Excellent LED display image quality comes from matching pixel pitch to viewing distance, using enough physical resolution, and calibrating brightness, contrast, refresh rate, grayscale, and color for the environment. Clean source content, consistent modules, a capable control system, and regular maintenance are just as important as the LED panels themselves.
A great LED screen should look sharp without visible pixelation, stay readable in the available light, reproduce natural colors, and remain smooth on both the human eye and camera. No single specification guarantees that result. The best image comes from choosing the right combination of hardware, control settings, content, and installation quality.
What determines LED display image quality?
| Factor | What to look for | Why it matters |
|---|---|---|
| Pixel pitch | A pitch suited to the closest viewer | Controls perceived sharpness and pixel visibility |
| Total resolution | Enough physical pixels for the content and screen size | Determines how much detail the display can show |
| Brightness | Output matched to indoor, window, or outdoor use | Keeps the image readable without looking harsh |
| Contrast | Deep blacks, low surface reflection, good black masking | Adds depth and improves readability |
| Refresh rate | At least 1,920 Hz for general use; 3,840 Hz or higher for many camera applications | Reduces visible flicker, scan lines, and camera banding |
| Grayscale | Stable 14-bit to 16-bit processing where fine gradients matter | Produces smoother shadows and color transitions |
| Color calibration | Consistent white balance and module-to-module color | Prevents patches, color casts, and uneven images |
| Uniformity | Flat cabinets, aligned seams, consistent modules | Makes the entire wall look like one canvas |
| Content and upkeep | Native-ratio media, good scaling, clean modules | Protects image quality after installation |
The values above are practical starting points, not universal pass/fail rules. Ambient light, camera settings, viewing distance, scan mode, LED package, driver IC, and controller configuration can all change the result.
1. Match pixel pitch to viewing distance
Pixel pitch is the center-to-center distance between adjacent pixels, measured in millimeters. A smaller pitch places more pixels in the same area and gives viewers a smoother image at close range. A larger pitch can be cost-effective when the audience is farther away.
A useful starting rule is that the minimum comfortable viewing distance in meters is roughly equal to the pixel pitch in millimeters. For example, a P2.5 display often works well from about 2.5 meters or farther, while a P6 display is usually intended for longer viewing distances. This is a planning shortcut, not a substitute for an on-site viewing test.
Choosing the smallest available pitch is not always the best decision. It can raise cost, power demand, processing load, and service complexity without creating a visible benefit for distant viewers. Start with the closest real viewing position, then compare sample modules at that distance.
2. Calculate the display’s true resolution
Pixel pitch and resolution are related, but they are not the same. Pixel pitch describes density; resolution is the actual number of physical pixels across the completed screen.
- Horizontal pixels = display width in millimeters / pixel pitch in millimeters
- Vertical pixels = display height in millimeters / pixel pitch in millimeters
For example, a 5.76 m x 3.456 m P6 LED display has a physical resolution of 960 x 576 pixels. Feeding it a 1920 x 1080 video does not turn it into a Full HD display; the LED video processor must scale that source to the screen’s physical canvas.
For crisp text and detailed graphics, design content at the exact output resolution and aspect ratio whenever possible. Avoid repeatedly resizing compressed images or stretching 16:9 content across a canvas with a different shape.
3. Use the right brightness for the environment
Brightness is measured in nits, or candelas per square meter. A screen must be brighter than the surrounding light to remain legible, but maximum brightness is not automatically better.
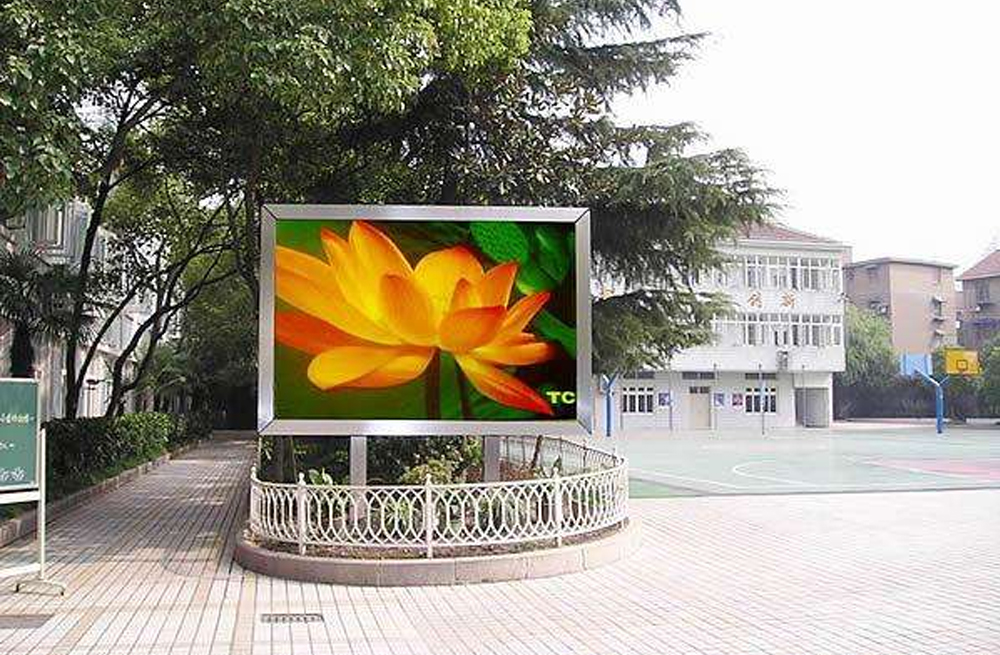
- Controlled indoor spaces: roughly 600-1,000 nits is common.
- Bright interiors and window-facing displays: roughly 1,500-3,500 nits may be needed.
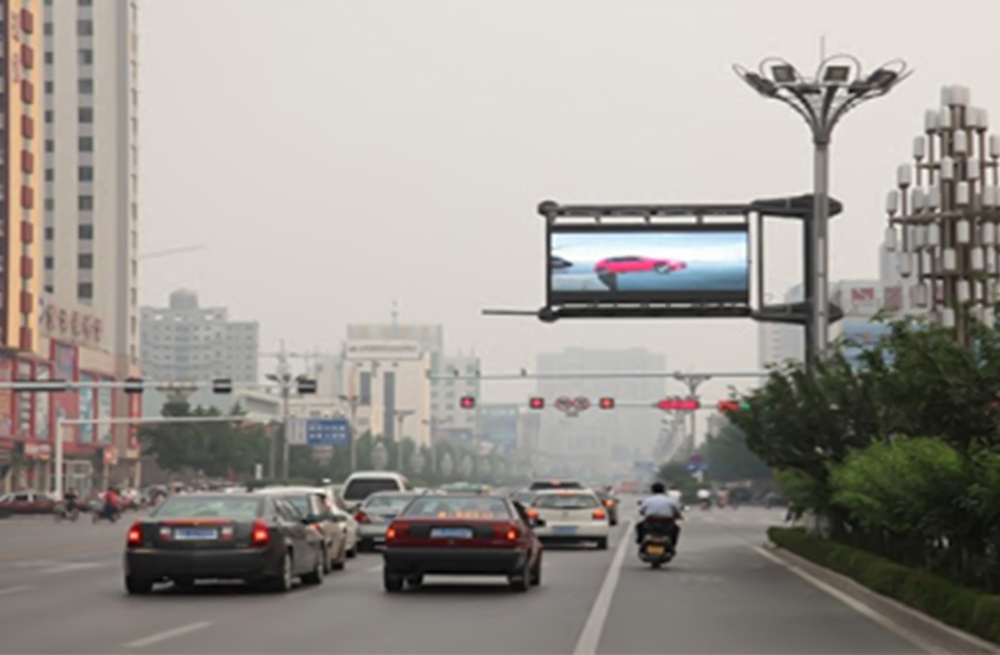
- Outdoor daylight: roughly 4,500-7,000+ nits is common, depending on orientation and direct sun.
Running an indoor screen too bright can wash out dark detail, cause eye discomfort, use more power, and accelerate LED aging. Outdoor screens benefit from scheduled brightness profiles or an ambient-light sensor so the image stays visible during the day without becoming overpowering at night.
4. Prioritize contrast, not brightness alone
Contrast is the difference between the brightest white and the darkest black the display can produce. It often has more influence on perceived image quality than peak brightness. Deep blacks make colors look richer and help text stand out.
Black LED packages, masks, louver design, low-reflection surfaces, and good cabinet construction can improve contrast. At the system level, correct brightness and gamma settings preserve shadow detail instead of crushing dark areas or making every scene look flat.

5. Choose a refresh rate that suits cameras
Refresh rate describes how many times per second the display redraws the image. A low refresh rate may look acceptable in person yet show flicker, dark bands, or scan lines in photos and video.
For general signage, 1,920 Hz is a common baseline. For broadcast, live events, virtual production, and environments where people frequently film the screen, 3,840 Hz or higher is a common procurement target. The number alone is not a guarantee: scan ratio, PWM behavior, driver IC performance, frame rate, shutter speed, and controller settings also affect camera results.
Always test the proposed screen with the cameras, frame rates, and shutter speeds that will be used at the venue.
6. Look for smooth grayscale and low-brightness detail
Grayscale capability controls how many brightness steps the screen can reproduce. Strong grayscale performance creates smooth gradients, natural skin tones, and detail in dark scenes. Weak processing can produce visible banding, color blocks, or abrupt transitions.
For applications with photography, video, or subtle brand colors, ask suppliers to demonstrate the screen at low brightness. A display that looks good only at maximum output may lose color depth and shadow detail when dimmed for indoor or nighttime use. High-quality 14-bit to 16-bit processing is a useful target, but real-world low-brightness performance matters more than the label.
7. Calibrate color temperature and module consistency
Color temperature describes whether white appears warmer or cooler. Around 6,500 K is a common neutral starting point for many LED video applications, but the correct setting depends on the venue, surrounding lighting, content, and camera white balance.
For LED video walls, color rendering index (CRI) is usually less informative than white balance, color gamut, grayscale linearity, and uniformity. Factory calibration and on-site correction should make every module reproduce the same red, green, blue, and white levels. Otherwise, the wall can show visible patches even when every module is working.
A reliable LED receiving card and control system help store and apply calibration data consistently across cabinets.
8. Check viewing angle, flatness, and uniformity
A display can have excellent specifications and still look poor if cabinet seams are uneven or modules vary in brightness. Inspect the screen from the center and from expected side-viewing positions. Look for color shifts, bright or dark edges, moire patterns, dead pixels, and visible horizontal or vertical lines.
Mechanical flatness is especially important for close-view indoor displays. Accurate cabinet alignment keeps seams from catching light and makes the image read as one continuous surface. For outdoor projects, weather sealing, heat management, and stable power delivery also protect uniformity over time.
9. Feed the screen better content and maintain it
Even premium hardware cannot rescue poor source material. Build every layout for the LED canvas, use high-resolution logos and images, keep text large enough for the viewing distance, and avoid thin fonts or low-contrast color combinations. Motion should be smooth and deliberate rather than fast enough to become unreadable.
The sending device, processor, LED sending box, receiving cards, and modules must be configured as one system. Correct mapping, scaling, frame rate, gamma, and color settings prevent many apparent panel problems.
After installation, clean the display as recommended, monitor temperature and power, replace failed pixels or modules promptly, and recalibrate when replacement modules create visible color differences.
LED display quality checklist
- Confirm the closest and typical viewing distances.
- Calculate physical pixel resolution from screen dimensions and pixel pitch.
- Match brightness to ambient light and plan automatic day/night adjustment.
- Test contrast and grayscale at normal operating brightness, not only at maximum output.
- Specify refresh rate and verify performance with the actual cameras.
- Review white balance, color consistency, cabinet seams, and side viewing angles.
- Confirm controller capacity, signal redundancy, power redundancy, and service access.
- Run real content at the screen’s native canvas size before acceptance.
If you are comparing an outdoor LED display, ask for a viewing test under similar sunlight and distance conditions. EagerLED can help match pixel pitch, cabinet design, control equipment, and brightness to the installation. Visit the EagerLED website or contact our team with your screen dimensions, viewing distance, location, and content type.
Frequently asked questions
What pixel pitch gives the best LED display image?
The best pitch is the one that looks smooth at the closest normal viewing distance. As a rough starting point, match a P2.5 display to viewing distances of about 2.5 m or more, P4 to about 4 m or more, and P6 to about 6 m or more. Screen size, content, and budget can shift the final choice.
Does higher brightness always make an LED screen look better?
No. Brightness must overcome ambient light, but excessive output can reduce comfort, flatten dark detail, consume more power, and shorten LED life. Use enough brightness for visibility and dim the screen appropriately indoors or at night.
What refresh rate is best for filming an LED display?
3,840 Hz or higher is a common target for camera-heavy applications. However, camera shutter speed, frame rate, scan ratio, PWM behavior, and controller settings also matter, so test the complete system with the production cameras.
Why does an LED display look blurry?
Common causes include insufficient physical resolution, viewing from too close, low-resolution source files, incorrect scaling, poor focus in the recording camera, or content that was designed for a different aspect ratio. Calculate the native LED canvas and create content for that exact size.
What color temperature is best for an LED display?
Around 6,500 K is a common neutral starting point, but there is no universal best setting. Match the display to ambient lighting, brand requirements, viewer comfort, and the white balance of any cameras in the space.