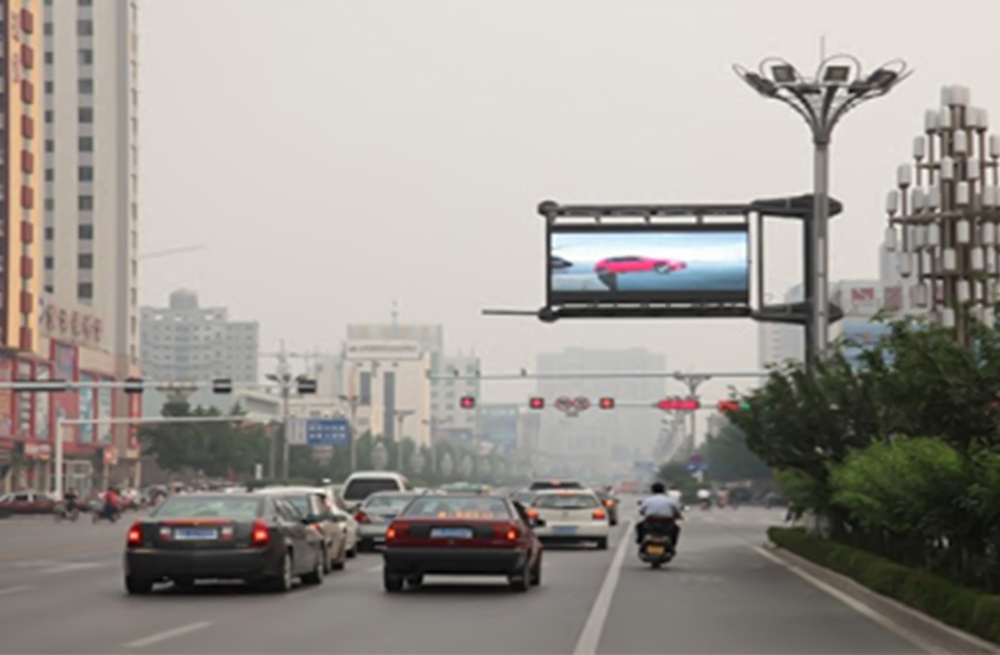
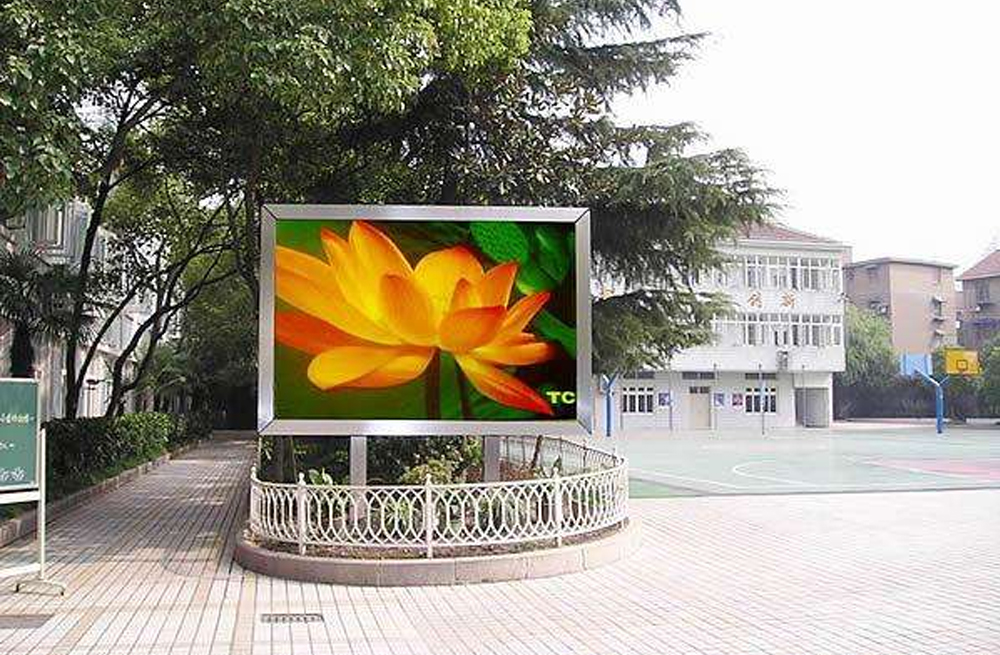
To choose the right LED display for advertising, start with viewing distance and ambient light. Then match the pixel pitch, brightness, weather protection, screen size, refresh rate, service access, and total cost to the site. A close audience needs a finer pixel pitch. Direct sunlight requires more brightness. Content filmed by a camera needs a higher refresh rate. The best screen is not simply the model with the smallest pitch or highest brightness; it is the display that meets the real operating conditions without unnecessary power or maintenance costs.
LED Display for Advertising: Quick Selection Guide
- Indoor retail: prioritize fine pixel pitch, accurate color, low-noise operation, and front service access.
- Shop windows: use more brightness than a typical indoor screen and confirm that reflections will not hide the content.
- Outdoor advertising: prioritize daylight visibility, weather protection, temperature management, secure installation, and remote monitoring.
- Rental and events: prioritize lightweight cabinets, fast locks, corner protection, high refresh rate, and easy module replacement.
Use the specifications below as practical starting points, not universal limits. A site survey, local regulations, content type, and supplier test data should determine the final configuration.
1. Define the Advertising Location and Use Case
First decide where the screen will operate and how people will see it. An indoor menu board, a storefront window, an outdoor roadside billboard, and a touring stage screen have different requirements. Record the nearest and typical viewing distances, screen orientation, sunlight exposure, operating hours, available power, mounting structure, ventilation, and maintenance access.
| Application | Typical priority | Practical starting point |
|---|---|---|
| Indoor retail or showroom | Close viewing and color accuracy | P1.5-P3, about 600-1,200 nits |
| Bright shop window | Visibility through glass | P2-P4, about 1,500-3,500 nits |
| Outdoor pedestrian area | Weather resistance and medium-distance viewing | P3-P6, about 4,500-6,000 nits |
| Roadside or large-format billboard | Long viewing distance and daylight visibility | P6-P16, about 5,000-8,000+ nits |
| Rental stage or live event | Fast assembly and camera performance | P2.6-P4.8, 3,840 Hz or higher refresh rate |
Brightness requirements vary with screen direction, latitude, shade, glass, and surrounding light. Measure the location at its brightest time before ordering.
2. Match Pixel Pitch to Viewing Distance
Pixel pitch is the center-to-center distance between adjacent LED pixels, measured in millimeters. A smaller pitch produces a finer image at close range, but it usually increases cost and the number of pixels that the controller must drive.
A useful planning rule is: minimum comfortable viewing distance in meters is approximately equal to the pixel pitch in millimeters. This is a field estimate rather than a formal standard. Detailed text and close inspection may require more distance or a finer pitch.
| Pixel pitch | Approximate minimum viewing distance | Common advertising use |
|---|---|---|
| P1.5 | 1.5 m | Premium indoor retail and control rooms |
| P2.5 | 2.5 m | Indoor stores, exhibitions, and meeting spaces |
| P4 | 4 m | Large indoor venues and close outdoor signage |
| P6 | 6 m | Outdoor storefronts and medium-distance signs |
| P10 | 10 m | Roadside and building-mounted advertising |
| P16 | 16 m | Large displays viewed from a long distance |
For long-range projects, review the P16 outdoor LED display screen panel. Do not pay for a finer pitch unless viewers can perceive the extra detail at the intended distance.
3. How Much Brightness Does an LED Display for Advertising Need?
Brightness is measured in nits, or candelas per square meter. A display needs enough output to maintain contrast against ambient light. More is not always better: excessive brightness can waste energy, shorten component life, reduce night-time comfort, and create compliance issues.
- For a controlled indoor space, about 600-1,200 nits is often adequate.
- For a window display, start around 1,500-3,500 nits and test through the actual glass.
- For an outdoor screen in shade or mixed light, about 4,500-6,000 nits is a common starting range.
- For direct sunlight, projects often require 6,000-8,000 nits or more, depending on orientation and environment.
Specify an automatic brightness sensor and a time-based dimming schedule for outdoor installations. Ask the supplier for calibrated brightness data, not only the maximum value shown on a brochure.
4. Verify Weather Protection and Operating Conditions
An outdoor enclosure must resist rain, dust, heat, cold, humidity, corrosion, and ultraviolet exposure. The IP rating describes protection against solid particles and water. The rating format is defined by IEC 60529.
For many exposed outdoor screens, an IP65-rated front is a common baseline. However, front and rear ratings can differ. Confirm the rating of the complete cabinet, module face, connectors, power supplies, and service doors. Also confirm the specified operating temperature, drainage, ventilation or air conditioning, anti-corrosion treatment, and lightning and surge protection.
If the project needs a portable installation, compare outdoor rental LED screen cabinets designed for repeated assembly. A temporary outdoor setup still needs proper ballast, grounding, weather planning, and wind-load engineering.
5. Check Image Quality and Camera Performance
Resolution alone does not determine image quality. Review the complete signal chain, including the LED modules, receiving cards, sending controller, video processor, calibration data, and source content.
- Refresh rate: at least 1,920 Hz is a practical baseline for general advertising. Choose 3,840 Hz or higher when cameras, live events, or slow-motion recording are important.
- Grayscale and low-brightness performance: ask to see gradients and dark content at the actual operating brightness. Poor processing can create banding or lost shadow detail.
- Color calibration: cabinet-to-cabinet uniformity matters more than a high specification on a single module.
- Viewing angle: check brightness and color from the real side-viewing positions, not only directly in front of the screen.
- Scan and shutter compatibility: test the screen with the cameras and frame rates that will be used on site.
Confirm that the controller supports the total pixel load, input formats, scaling, scheduled playback, remote monitoring, and any required redundancy. A suitable LED video processor can simplify source switching and resolution matching.
6. Calculate Screen Size and Content Resolution
Choose the physical size from viewing distance, traffic speed, message length, and mounting limits. Then calculate the native pixel resolution. The relationship is:
Screen width in meters = horizontal pixels x pixel pitch in millimeters / 1,000.
For example, a P4 screen that is 1,920 pixels wide measures 7.68 meters across. If the display uses a 16:9 layout, prepare content at the exact native pixel dimensions whenever possible. Correct source resolution keeps text sharp and prevents unnecessary scaling.
Advertising viewed from moving vehicles needs larger lettering, fewer words, strong contrast, and longer display time than content viewed by pedestrians. Confirm local rules for brightness, animation, dwell time, placement, structural design, and road safety before installation.
7. Plan Installation and Maintenance Before Buying
Service access changes the cabinet and structure design. A wall-mounted screen may need front-service modules, while a freestanding billboard may allow rear access. Confirm how technicians will replace a module, receiving card, power supply, fan, and cable without dismantling the entire display.
- Check cabinet dimensions, weight, flatness, lock design, and module alignment.
- Calculate maximum and average power demand, cable routes, distribution boards, and grounding.
- Provide ventilation clearance and safe access for maintenance.
- Specify spare modules, power supplies, receiving cards, cables, and calibration files from the same production batch.
- Ask for remote status monitoring and fault alerts for high-value or hard-to-reach installations.
8. Compare Total Cost of Ownership
The purchase price is only one part of the budget. Compare the display, controller, processor, mounting structure, electrical work, data cabling, installation labor, permits, content system, spare parts, shipping, energy use, and scheduled maintenance. Also check warranty coverage, response time, technical support, and the expected availability of matching replacement modules.
A lower-cost screen can become expensive if it consumes more power, needs frequent service, or cannot maintain color uniformity. Request an itemized proposal so competing systems can be compared on the same scope.
LED Advertising Display Buying Checklist
- Where will the display operate, and what is the brightest ambient-light condition?
- What are the minimum, typical, and maximum viewing distances?
- Which pixel pitch provides enough detail at those distances?
- What brightness range and automatic dimming controls are required?
- Are the front and rear IP ratings suitable for the installation?
- Does the refresh rate meet camera and content requirements?
- Can the controller handle the total native resolution with capacity to spare?
- Is front or rear maintenance access available?
- What are the maximum power, average power, heat, and structural loads?
- Which spare parts, calibration files, warranty terms, and support services are included?
Frequently Asked Questions
What pixel pitch is best for an LED display for advertising?
The best pitch depends mainly on the nearest viewing distance. As a starting estimate, match the pitch in millimeters to the minimum viewing distance in meters. For example, P4 suits viewing from about 4 meters or farther, while P10 is better for long-range roadside viewing.
How bright should an outdoor advertising screen be?
Many outdoor projects start around 4,500-6,000 nits, while screens facing direct sunlight may need 6,000-8,000 nits or more. Orientation, shade, climate, and local brightness rules can change the requirement, so measure the site before specifying a final value.
Is a smaller pixel pitch always better?
No. A smaller pitch improves close-range detail but increases pixel count, controller load, power demand, and cost. Select the coarsest pitch that still looks sharp at the intended viewing distance.
What IP rating is suitable for an outdoor LED display?
An IP65-rated front is a common starting point for an exposed outdoor screen, but it is not enough by itself. Verify the rear enclosure, doors, connectors, drainage, corrosion protection, and operating temperature for the actual location.
What refresh rate should an advertising LED display use?
For general advertising, 1,920 Hz is a practical baseline. For broadcast, live events, or frequent filming, choose 3,840 Hz or higher and test the screen with the intended cameras.
How long does an advertising LED display last?
Service life depends on LED quality, operating temperature, brightness level, power quality, maintenance, and daily run time. Compare supplier warranty terms and expected brightness depreciation instead of relying on a single lifetime-hour claim.
Final Recommendation
Choose an LED display for advertising from measurable site conditions, not from one headline specification. Start with viewing distance and ambient light, then validate pixel pitch, brightness, IP protection, refresh rate, native resolution, maintenance access, and lifetime cost. Before placing an order, request a cabinet sample or live demonstration using your own content and viewing conditions. For help matching a screen, controller, and processor to a project, contact the LED Controller Card team with the installation location, screen size, viewing distance, and content source.